best way to pack dishes for a move: step-by-step method that actually works
Explore best way to pack dishes for a move with practical guidance, key questions, and clear next steps before you contact EC Movers Ltd or make a decision.
best way to pack dishes for a move: step-by-step method that actually works
If you want the best way to pack dishes for a move, use a simple system you can repeat for every cabinet: gather the right supplies, prep your boxes, wrap each item the right way, load dishes vertically into cushioned layers, and label clearly for a smooth unpack. The details below show exactly how to do it without guesswork.
Gather the right supplies
Having proper materials saves time and prevents chips. Here’s what to set aside before you start:
- Small to medium moving boxes or dish packs (double-walled are ideal for weight)
- Unprinted packing paper and/or soft foam sheets; a few microfibre towels work in a pinch
- Bubble cushioning for delicate stemware and thin porcelain
- Cardboard dividers for glasses and mugs, or DIY dividers from spare box scraps
- High-quality packing tape and a tape dispenser
- Permanent markers and room/fragile labels
- Optional: thin cardboard sheets or chipboard to create layers inside boxes
Tip: Use more small boxes than one big box. Heavy kitchenware concentrates weight quickly; smaller cartons stay manageable and protect better.
Prep your boxes first
Before you wrap a single plate, strengthen your cartons:
- Build and tape the bottom: Fold flaps tightly, use two strips of tape across the seam and one perpendicular to create an H pattern.
- Create a shock-absorbing base: Crumple 2–3 inches of packing paper or use a folded towel on the bottom.
- Pre-label: Write the destination room (e.g., “Kitchen”), contents category (e.g., “Plates + Bowls”), and “Fragile – This Side Up.”
Starting every box this way keeps pace consistent and reduces rework.
Wrap each item the right way
Different dish types need slightly different techniques. Use these fast, reliable wraps:
- Plates (ceramic, stoneware, porcelain): Stack three sheets of packing paper. Place a plate in the middle, fold corners in, and roll once. Add the next plate on top of the wrapped plate and repeat, creating a tight bundle of 4–6 plates. For very delicate pieces, wrap individually. Always load plates vertically in the box (like records), not flat.
- Bowls: Fill the bowl cavity with a sheet of crumpled paper, then wrap the outside with two sheets. Nest similar-sized bowls with a sheet between each, or pack individually if thin or valuable. Load on edge, not face down.
- Mugs: Place a crumpled sheet inside the mug, then wrap the handle by folding paper around it before covering the rest. If using a divider, one mug per cell; otherwise, line handles in alternating directions with cushioning between.
- Glasses and stemware: For regular tumblers, use divider cells or wrap with foam sheets and pack upright. For stemware, wrap the bowl first, then the stem and base separately with extra cushioning, finish with an outer layer of bubble wrap, and place in a snug divider.
- Serving platters and trays: Wrap like a large plate, add a cardboard sheet to keep the surface flat, and place along the box side on edge.
- Teapots, pitchers, and items with spouts/lids: Remove lids, wrap them separately, cushion the spout, then wrap the body. Place the lid beside or on top in the same box, well-padded.
General rule: Fill hollow spaces with soft paper first, then wrap the exterior snugly. Air pockets cause movement; movement causes chips.
Load boxes in stable layers
Proper loading matters as much as wrapping. Build boxes like a layered cake:
- Base layer: After the cushioned bottom, place the heaviest, most durable items first (e.g., stacks of small side plates on edge, sturdy bowls on edge). Wedge paper between items so nothing wobbles.
- Middle layer: Add medium-weight pieces like dinner plates, shallow bowls, small serving dishes. Insert a flat cardboard or several sheets of paper as a layer break if the bottom isn’t perfectly even.
- Top layer: Reserve for light, delicate items: cups, saucers, plastic lids, wrapped utensils, or oven mitts. Use these to “top off” and prevent vertical shifting.
Finish by adding a final cushion of crumpled paper up to the top rim. When you press gently on the fill, the contents shouldn’t settle. If they do, add more soft fill until the lid closes without crushing.
Seal, label, and orient
Once loaded, seal the top with the same H-pattern tape you used on the bottom. Label each box on two adjacent sides and the top with:
- Room name (Kitchen)
- Contents (Glasses + Mugs; Plates + Bowls)
- Fragile, This Side Up, and arrows showing orientation
Clear labeling reduces rough handling and speeds up placement in the new kitchen.
Special cases and smart shortcuts
- Dish packs: If you have double-walled dish boxes, use them for your heaviest or most fragile sets and for glassware with dividers.
- DIY dividers: Cut spare cardboard into T-shaped inserts to separate glasses and prevent rim-to-rim contact.
- Original packaging: If you kept molded boxes for stemware or appliances, reuse them—they’re purpose-built to prevent stress on weak points.
- Protecting heirlooms: Consider two-stage wrapping: foam sheet directly on the surface, then paper, then a light bubble layer. Pack these in the centre of a box, not against edges.
- Heavy cookware vs. dishes: Don’t mix cast iron or dense cookware with fragile dishes. Cookware belongs in a separate, very small box with extra base padding.
- Eco-friendly cushioning: Clean dish towels, aprons, and cloth napkins make great top-layer fillers. Keep fabric away from any damp or oily items.
Loading the truck or vehicle
Even perfectly packed dish boxes can be damaged by poor loading. Follow these basics:
- Stack dish boxes on a flat surface, never bridging a gap between furniture pieces.
- Keep them upright with arrows facing the correct direction.
- Place heavier dish boxes at the bottom of a stack, lighter fragile boxes on top.
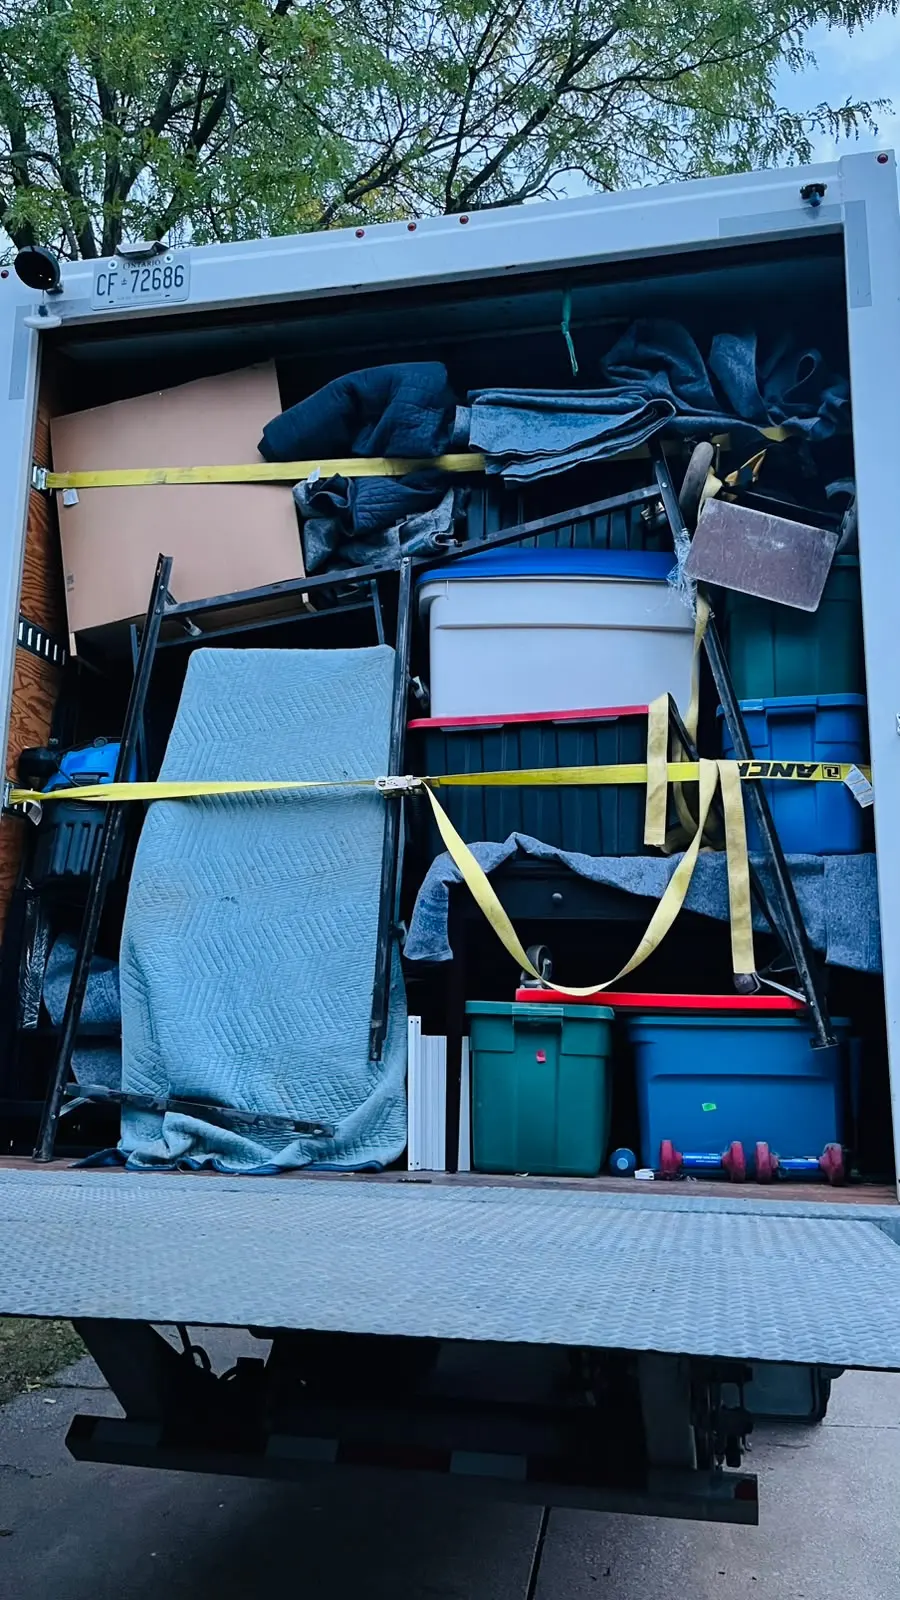
- Strap stacks to the wall or wedge between stable items so they don’t shift on turns.
- Avoid placing boxes under items with legs or sharp edges that could puncture in transit.
Unpacking without stress
Reverse the process systematically in your new kitchen:
- Place a thick towel on the counter as a landing pad.
- Open boxes labelled “Everyday Dishes” first so you can eat comfortably that day.
- Lift items out vertically (especially plates) to avoid scraping a neighbour.
- Rinse glassware and dishes before shelving if they were wrapped in new paper—ink-free paper is typically clean, but a quick rinse refreshes items for use.
- Flatten and save clean paper for future storage; recycle what you can.
Common mistakes to avoid
- Packing plates flat: Increases surface pressure; edges-on is safer.
- Underfilling boxes: Empty headspace lets contents bounce. Top off with soft fill.
- Overfilling boxes: A crushed lid transmits force to fragile items. Aim for a firm but not bulging close.
- Mixing heavy cookware with delicate dishes: Separate categories by weight.
- Skipping base padding: Bottom shocks cause the majority of chips.
- Thin tape or minimal taping: Use quality tape and H-pattern seals top and bottom.
- One giant kitchen box: Break the load into multiple small boxes for control and safety.
Quick-reference checklist
- Build, tape, and cushion the box bottom.
- Label the box before loading: room, contents, fragile, arrows.
- Wrap items correctly: fill hollows, snug outer wrap.
- Load in layers: heavy on bottom, medium in middle, light on top.
- Pack plates and bowls on their edge, not flat.
- Fill all air gaps; lid should close firmly without pressure on contents.
- Seal with H-pattern tape; keep orientation consistent when carrying.
FAQ
What size boxes are best for dishes?
Use small to medium boxes. Dishes become heavy quickly, and smaller cartons reduce strain on seams and make safe stacking easier. If available, dish packs with double walls are excellent for dense loads.
Is bubble wrap or packing paper better for kitchenware?
For everyday dishes, unprinted packing paper is efficient, protective, and faster to work with. Use bubble cushioning for very delicate pieces like thin porcelain or stemware, ideally around a paper or foam base layer to avoid slippage.
How do I prevent glassware from clinking and cracking?
Give each glass an inner “stuff” of crumpled paper, wrap the exterior snugly, and use a divider so rims never touch. If you don’t have dividers, pad between each rim and base with folded paper and keep glasses upright in the box.
Do I need to wrap every single plate?
Not necessarily. For sturdy everyday plates, a bundled stack of 4–6 with paper between each and a tight outer wrap works well. For thin, antique, or sentimental plates, wrap individually and place toward the centre of the box.
What’s the safest way to carry a dish box?
Keep it upright with arrows facing up, hold from the bottom corners, and avoid twisting your torso while walking. Place it on flat, stable surfaces in the vehicle and secure the stack to prevent shifting.
A practical next step
To discuss the options that apply to your situation, contact EC Movers Ltd and request the relevant details before moving forward.
Ready to move?
Get your free quote from EC Movers today.