
How Do You Safely Disassemble Furniture Before a Move?
Learn how to disassemble furniture safely before moving, organize hardware, protect each part, and know when professional movers should take over.
How Do You Safely Disassemble Furniture Before a Move?
Disassemble furniture before a move only when it is designed to come apart, the connection points are clear, and you can complete the work without force or structural risk. Removable legs, shelves, doors, drawers, and bed-frame sections may be manageable when you can identify how they connect. A damaged, unusually heavy, mechanism-based, fragile, or unfamiliar item deserves a more cautious decision.
The safest approach is not to take apart as much as possible. It is to document each item, prepare a controlled workspace, remove only accessible components, label every piece, protect the parts, and stop as soon as the work becomes uncertain. This furniture disassembly guide explains that process and when to ask professional movers to handle disassembly, transport, assembly, or setup.
Quick summary
- Decide what should come apart before touching any fasteners. Keep load-bearing, damaged, complex, or mechanism-based furniture intact unless a qualified professional confirms the process.
- Photograph the furniture and its connection points, then keep hardware and notes with the correct item from start to finish.
- Use a clear workspace and protective materials. Remove parts slowly, support them as they are released, and never force a stuck connection.
- Before loading, confirm that every component is identified, stable, protected, and manageable through the access route.
- Ask the moving company to confirm whether your quote includes disassembly, packing, loading, transport, unloading, furniture assembly, and new-space setup.
In this guide
- Decide what to disassemble
- Document each item
- Prepare the workspace
- Remove accessible components
- Organize hardware
- Protect the parts
- Know when to call professionals
- Use the checklist
- Read the FAQs
Before You Start: Decide What to Disassemble
Start with the furniture itself, not the tools. Look for visible connection points, removable hardware, panels that are clearly designed to detach, and parts that can be separated without disturbing the main structure. Screws or bolts do not automatically mean that furniture should be dismantled. Some connections support the whole item, while others secure a mechanism or help maintain stability.
A bed frame may have detachable rails or a headboard. A table may have removable legs. Shelving or a wardrobe may have shelves, doors, or drawers that can be taken out to reduce loose movement. A sofa may have removable cushions or legs, but its internal frame and reclining mechanism can be more complicated. Treat these as conditional examples, not automatic instructions.
Use a simple decision test
Ask whether the component is visibly removable, whether you understand how it reconnects, and whether you can release it without force. Also consider whether you can safely support the piece once it is loose and protect and identify it during transport.
- Proceed carefully: the part is clearly removable, the connection is accessible, the furniture is in sound condition, and the work does not require force or awkward handling.
- Leave it assembled: the part appears structural, the item becomes unstable when loosened, or removing it could affect a mechanism or alignment you do not understand.
- Ask a professional: the item is heavy, fragile, valuable, damaged, unusually constructed, difficult to access, or important to reassemble correctly.
Do not begin by stripping every visible fastener. Removing hardware in the wrong order can make a piece unstable, trap another component, or leave you unsure which parts belong together. If instructions are missing and the design is not self-explanatory, documentation and professional advice become more important.
Stop point: stop before disassembly if you cannot identify the purpose of a connection, the item shifts unexpectedly, or the next step would require force, climbing, unsafe lifting, or guessing.
Step 1: Inventory and Photograph Each Item
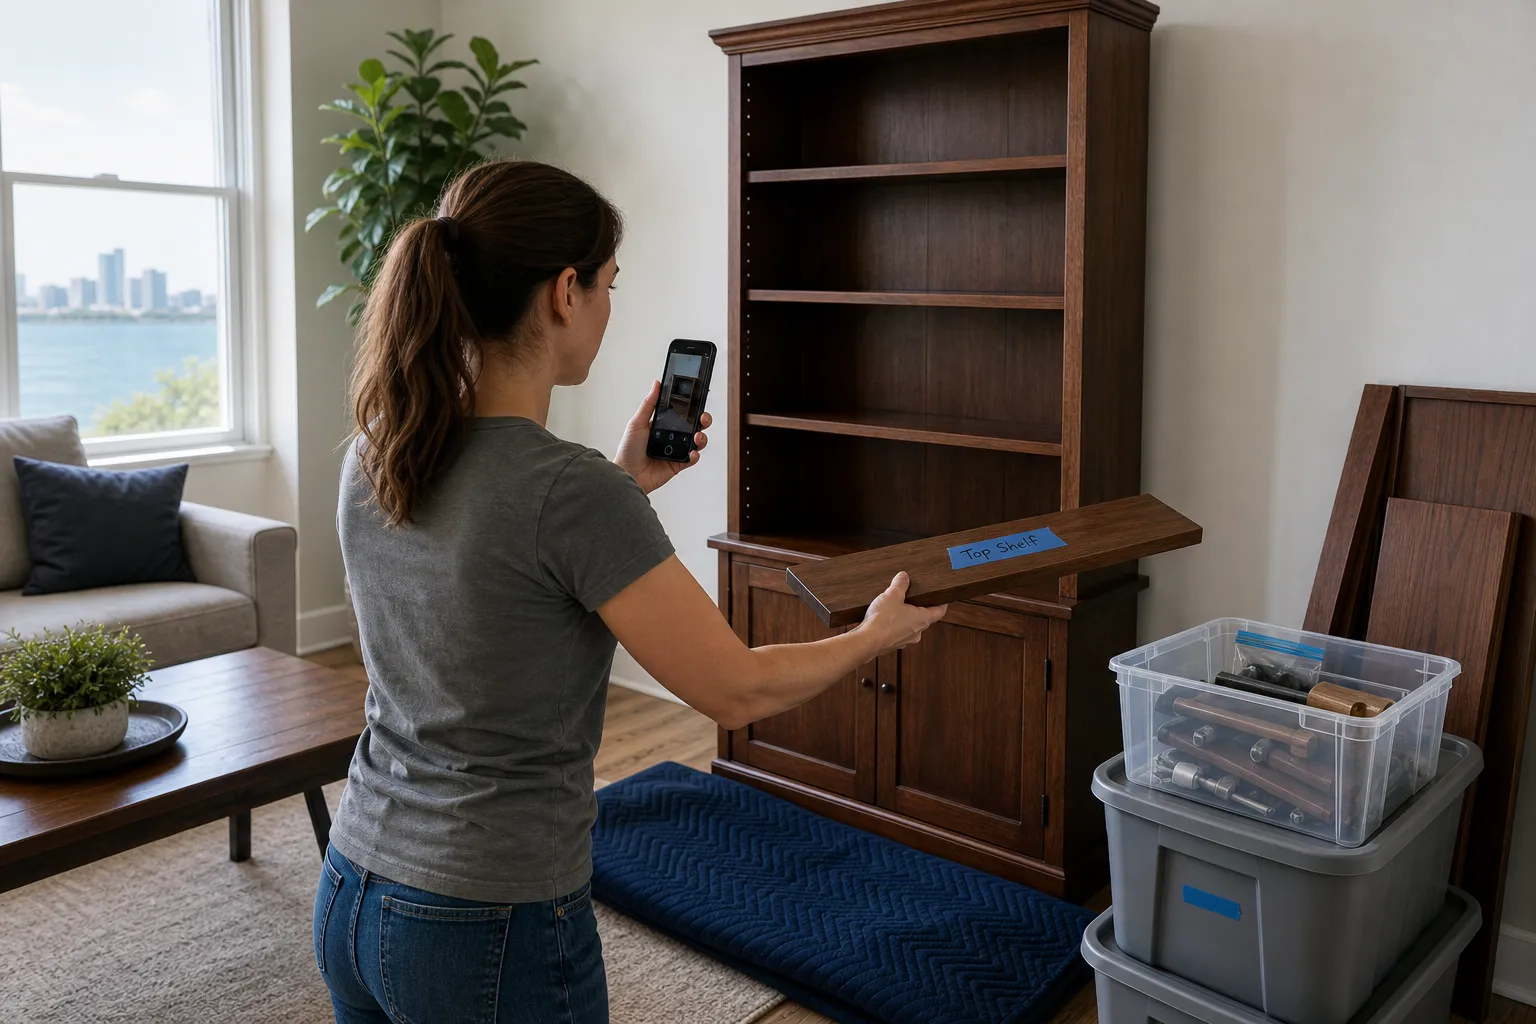
Create an item-by-item record before anything moves. Give each piece a simple name such as “main bedroom bed,” “dining table,” or “office shelving unit.” If several items look similar, add a room name, colour, or another identifying detail. This record helps keep components together when furniture is moved between rooms, placed in storage, or loaded with other household goods.
Begin with a full photograph of the assembled furniture. Take additional photographs from the front, back, sides, and top where those views show orientation. Then photograph each connection point before loosening it. Include the surrounding area so you can see which panel, leg, bracket, or rail the hardware belongs to.
Photograph existing scratches, dents, loose joints, or other condition issues before disassembly. This creates a useful record and helps distinguish pre-existing damage from a part that changes during handling. Photograph labels, adjustment points, and removable parts whenever they may help with reassembly.
Write down reassembly clues
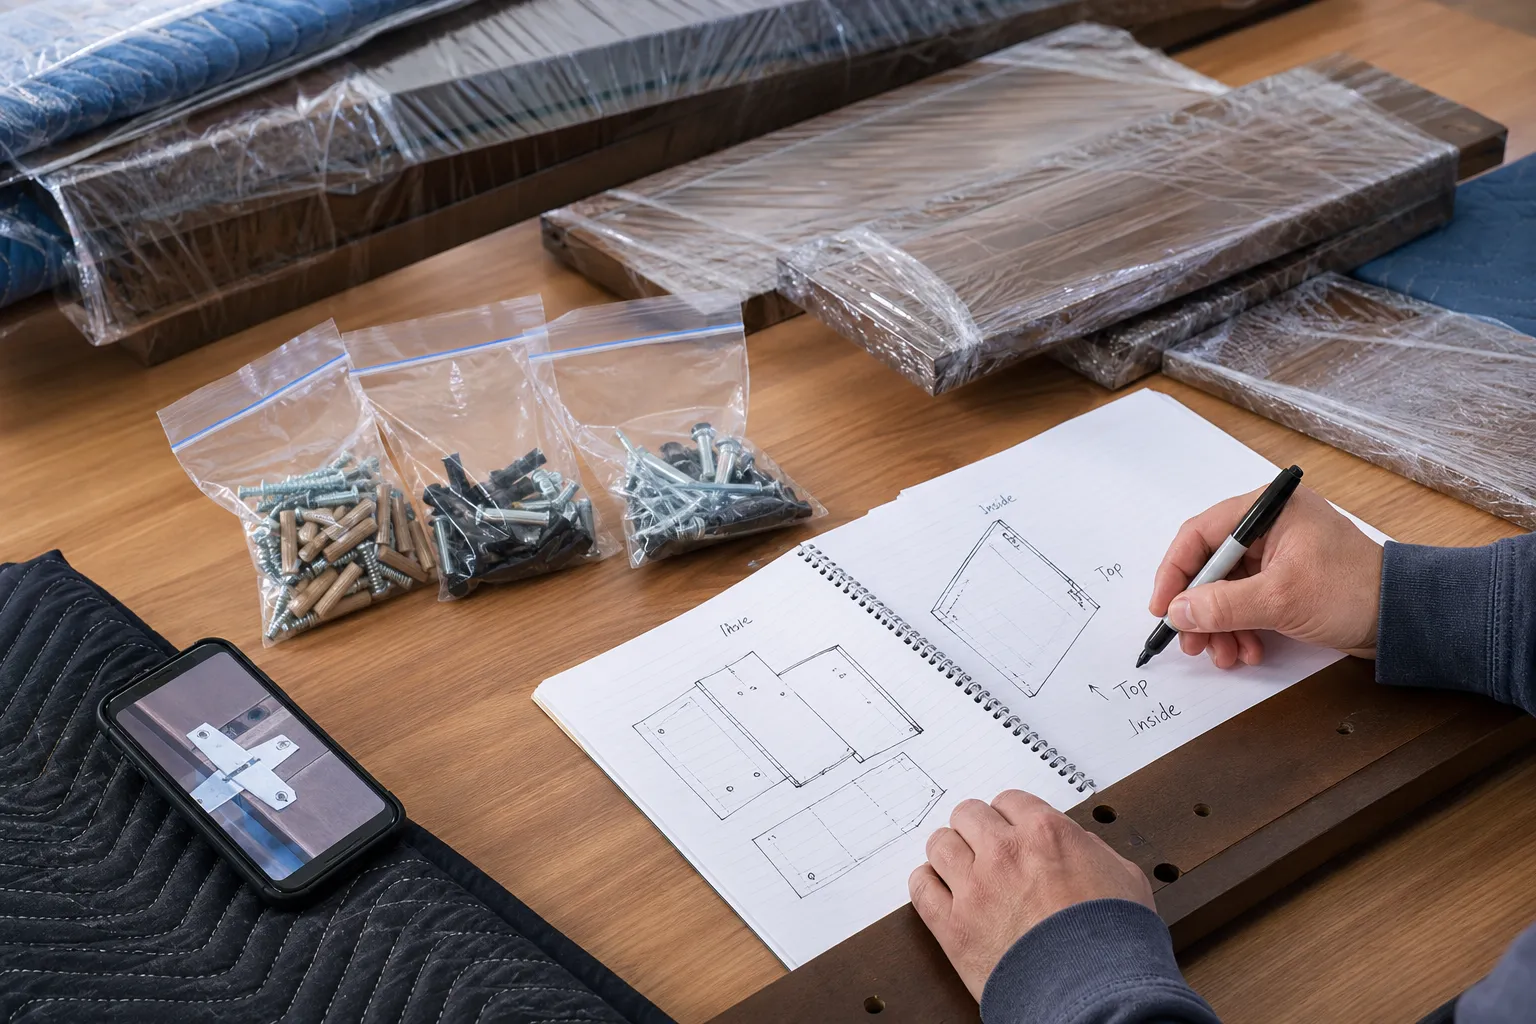
Use a short note for each item. Record which side faces the front, where doors or drawers belong, which shelf was at the top, and whether a component sits on the left or right. You do not need a complicated diagram. A few clear notes attached to the item’s hardware container can prevent confusion later.
Keep these records separate from the furniture parts while you work, but make sure they travel with the correct item. Use consistent file names for phone photos or add an item number to your written notes. The goal is a traceable link between the assembled item, its pieces, and its hardware.
Step 2: Prepare the Workspace and Protection
Clear enough space to place the furniture and its parts without stacking them carelessly. Remove nearby objects that could become trip hazards, protect the floor where appropriate, and arrange lighting so you can see connection points clearly. Keep children and pets away, especially when small hardware or unstable parts are present.
Place containers, labels, a marker, your phone, notes, and protective materials within reach before beginning. Use a separate container or bag for each furniture item rather than creating one mixed collection of fasteners. Prepare blankets, wrap, cardboard, or other suitable protection for the material and finish. Protection should prevent parts from rubbing together without hiding labels.
Plan the working position
Consider whether you can reach connection points while keeping the item stable. Avoid working in a narrow passage, at the top of stairs, against a door that must remain open, or where another person cannot move around the furniture. Move the item only if it can be done without unsafe lifting.
Do not improvise a work area that leaves you balancing a panel, twisting around a corner, or supporting weight with one hand while releasing a connection with the other. If the furniture cannot be positioned safely, arrange professional help rather than working faster.
Stop point: stop if the space is cramped, the furniture cannot be stabilized, the floor or access route is obstructed, or you cannot release a part while maintaining safe control.
Step 3: Remove Only Accessible Components
Work from parts that are clearly designed to come off. Follow visible connection points and use available manufacturer instructions. Release one component at a time, pausing after each removal to confirm that the remaining furniture is stable. Place the removed piece in a designated location instead of leaving it in a travel path.
Support a panel, shelf, door, rail, or leg as its final connection is released. A component that looks light may shift, swing, or fall when no longer secured. If another person is helping, agree on who supports the part and who releases the connection before beginning.
Do not force a connection
A connection that will not loosen may be damaged, under load, cross-threaded, concealed, glued, or part of a mechanism. Increasing force can strip hardware, damage surrounding material, or make the furniture less stable. Avoid hammering, prying, cutting, or modifying the item unless you have the appropriate expertise and instructions support that action.
Be especially cautious with furniture that reclines, folds, extends, swivels, lifts, or contains tensioned components. Do not reach into a mechanism because a panel appears removable. If you cannot tell whether a part is decorative, structural, or connected to a moving mechanism, leave it in place.
Stop point: stop immediately if a part is stuck, spring-loaded, damaged, unusually heavy, connected to a mechanism, or becoming unstable. Do not turn preparation into a repair or structural modification.
Step 4: Label and Record Every Fastener
Keep every fastener with the furniture item it belongs to. Use a separate labelled bag or container for each piece, adding a more specific description when one item has several hardware groups. You might separate hardware for the left side, right side, shelf supports, and door fittings. Labels do not need technical names. They need to be clear enough for later reassembly.
Photograph the hardware arrangement before removing it, then add a short note if the photograph does not fully explain the order. If fasteners differ in appearance, keep groups separate rather than assuming they are interchangeable. Do not rely on memory when several pieces are being prepared.
Place the labelled container with the wrapped furniture parts, securing it so it cannot fall out or rub against a finished surface. If it cannot stay with the part, attach it to the protective wrapping or place it in a clearly marked box dedicated to that item. Record the box location in your notes.
Before sealing a box or moving furniture away, compare its contents with your photographs and notes. Look around the workspace for washers, caps, brackets, shelf supports, clips, and other small pieces. Never discard an unfamiliar part. Keep it labelled until the furniture has been reassembled and checked.
Step 5: Protect and Pack the Disassembled Parts
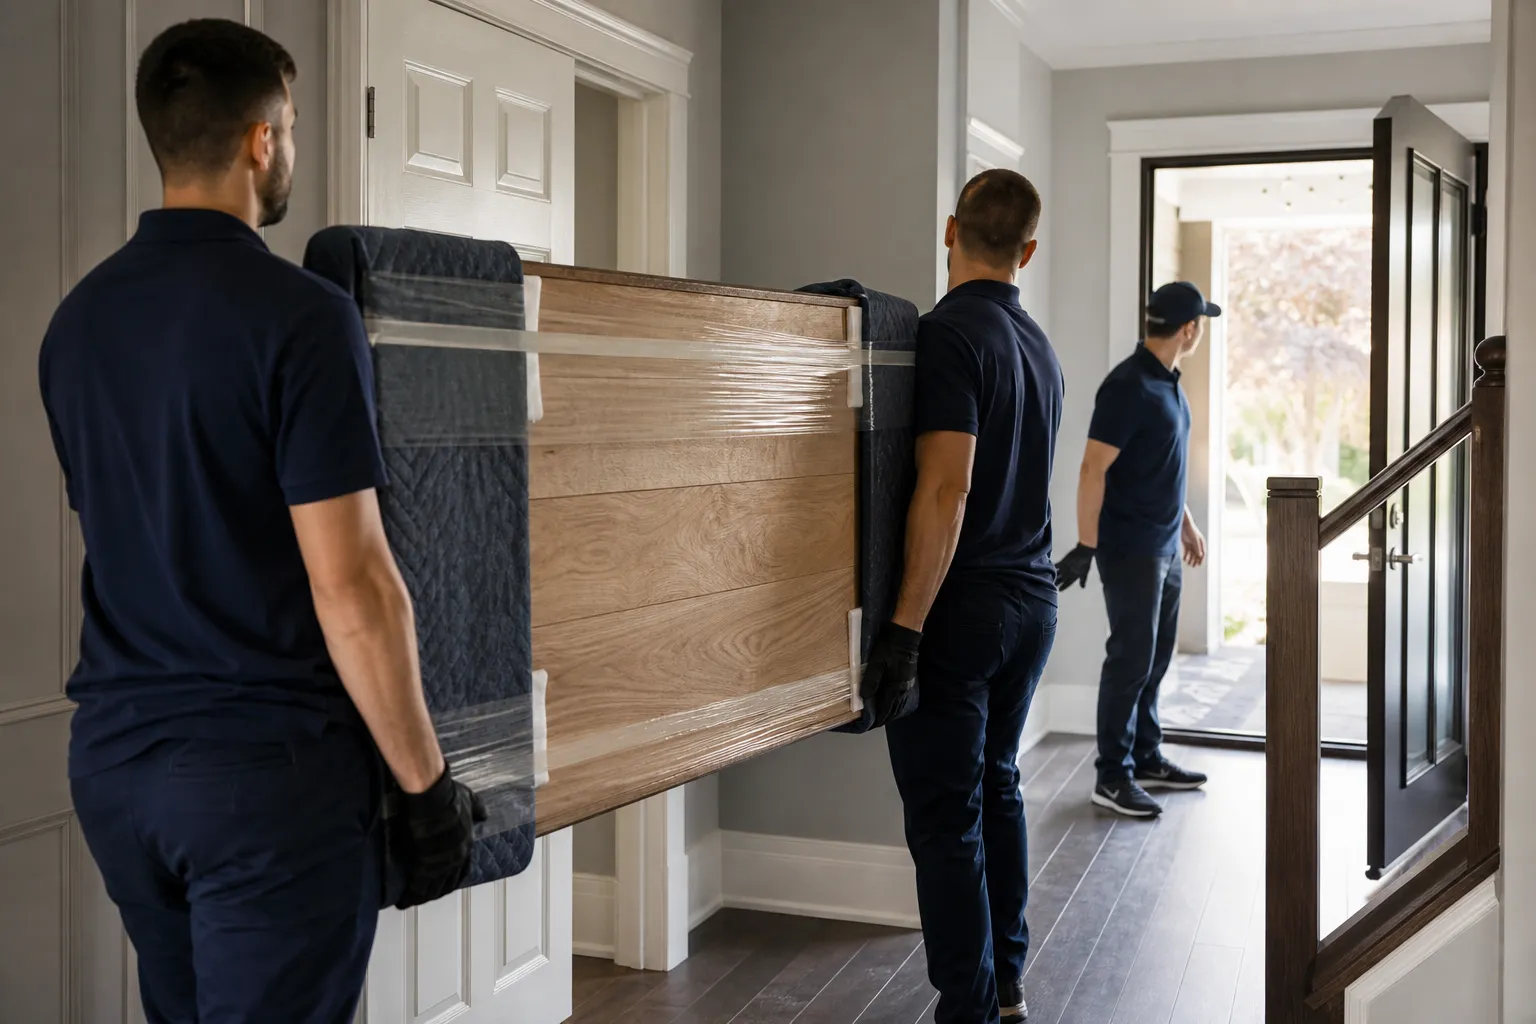
Separate panels, shelves, doors, drawers, legs, rails, and hardware so they cannot scratch, rub, bend, or become separated. Wrap finished surfaces with suitable protective material, and add protection around exposed corners and edges. The appropriate method depends on whether a component is wood, glass, metal, laminate, upholstered, painted, or sensitive to pressure and abrasion.
Do not place small hardware loose between large panels. It can shift during handling and scratch the surface or disappear into gaps. Keep hardware in its labelled container and secure the container without applying tape directly to a delicate finish. Mark pieces that are fragile, orientation-sensitive, or difficult to identify when wrapped.
Keep parts grouped, not merely packed
Efficient packing is not only about reducing space. It also preserves the relationship between parts. Keep components of one furniture item together whenever practical, and label both the protective wrapping and the inventory record. If parts must be separated because of size or weight, note where each group has been placed.
Drawers and shelves may be removable, but do not automatically pack them inside the furniture. Added weight or movement can damage the frame, runners, or interior surfaces. Treat each component according to its construction and condition, and ask a professional if you are uncertain.
Step 6: Check Transport Readiness
Before the moving crew arrives or anything is loaded, inspect every component. Confirm that it is identifiable, protected, stable, and placed where it can be handled without forcing it through an opening. Check that no hardware is loose, no sharp edge is exposed, and no small container can fall out of the wrapping.
Review the route from the furniture’s current position to the vehicle. Consider doorways, corridors, stairs, landings, elevators, turns, and the destination access route. A panel manageable in an open room may be awkward in a narrow stairwell. Do not solve an access problem by rushing or attempting an unsafe lift.
Look for drawers, doors, shelves, legs, cables, hinges, wheels, or mechanisms that could open or shift. Secure or remove only the components you understand and can protect. Do not tape, tie, or immobilize a mechanism in a way that could damage it or create a handling hazard.
Tell the movers about existing damage, delicate surfaces, unusual construction, and parts needing special orientation. Clear communication matters particularly when a move includes multiple rooms, pickup locations, or storage.
Final stop point: do not load a component if it is unstable, unidentified, unprotected, too awkward to handle safely, or likely to interfere with the access route. Set it aside for professional assessment.
Step 7: Plan Reassembly at the New Home
Keep photographs, notes, instructions, and labelled hardware accessible during the move. Do not pack them in a box that will be difficult to find. If furniture goes into storage or a different room before final placement, update your record so the correct components remain together.
At the destination, identify the intended position before reassembly begins. Confirm orientation, available clearance, and the route needed to place the item. Follow available instructions and photographs rather than guessing. Keep front, back, top, bottom, left, and right notes with the relevant parts.
Do not throw away unused hardware until the item is assembled and checked. If a part does not fit as expected, a fastener is missing, or the item does not feel stable, stop instead of forcing the connection or accepting a partial assembly.
Moving companies may offer furniture assembly and new-space setup, but the scope can vary by booking and item. Ask specifically whether the company will disassemble furniture at pickup, protect and transport the parts, reassemble it at delivery, and place it in the requested room.
Which Furniture Needs Professional Help?
Professional help is appropriate when the consequences of an error are greater than the convenience of doing the work yourself. This includes furniture that is heavy, fragile, high-value, damaged, unusually constructed, difficult to access, or dependent on a mechanism you cannot safely inspect. It also includes items that must be reassembled correctly for stability or proper operation.
Ask for help when the item cannot be controlled by the people available, when the route includes difficult stairs or tight turns, or when the component would be carried awkwardly. A professional assessment is sensible when furniture is already loose, leaning, cracked, swollen, or missing hardware. Disassembly can expose a problem that is not visible while the item is assembled.
Examples that deserve extra caution
- Heavy or oversized furniture: large wardrobes, substantial shelving, solid tables, and similar items may require coordinated handling even when parts are removable.
- Mechanism-based furniture: reclining, folding, extending, lifting, or adjustable items may contain connections that are not obvious from outside.
- Fragile or valuable items: glass, delicate finishes, antiques, and irreplaceable components need protection suited to their construction.
- Damaged furniture: loosened joints, cracks, missing fasteners, water damage, or previous repairs can change how the item should be moved.
- Uncertain reassembly: if you cannot explain how the piece will return to a stable condition, do not dismantle it simply to make it smaller.
Stopping is not a failure. It is the correct result when a task moves beyond clear, controlled preparation. Tell the moving company what you observed, show photographs if possible, and ask what work is included. Do not assume that insurance or WSIB certification automatically covers self-disassembly, damage, or every type of furniture work. Confirm the scope and relevant terms directly.
Self-Disassembly Versus Professional Movers
Self-disassembly can give you direct control over photographs, labels, and preparation order. It may suit straightforward furniture when you have adequate space, time, assistance, and a clear understanding of the connections. The tradeoff is that you take responsibility for identifying parts, protecting finishes, managing the route, and recognizing when the work should stop.
Professional movers can coordinate physical handling with the rest of the move. That may help when furniture must be loaded with household goods, carried through difficult access points, packed beside fragile belongings, or reassembled and placed in the new space. It does not remove the need for clear instructions. Describe the furniture, its condition, location, and any uncertainty about its construction.
| Decision factor | Self-disassembly may suit you when | Ask movers to confirm support when |
|---|---|---|
| Construction | Connections are visible and removable parts are easy to identify. | The item has hidden connections, mechanisms, glued sections, or unusual construction. |
| Condition | The furniture is stable and free from significant damage. | Joints are loose, parts are cracked, or hardware is missing or damaged. |
| Access | You can work and carry parts in a clear area. | There are tight turns, stairs, restricted elevators, or difficult loading conditions. |
| Reassembly | You understand how the item returns to a stable state. | Correct alignment, operation, or stability is uncertain. |
When requesting a quote from EC Movers Ltd, ask for the scope in writing or confirm it during the booking discussion. Ask whether the price covers furniture disassembly, wrapping, loading, transportation, unloading, assembly, and setup. Explain whether the move is from a house or apartment, whether there are stairs or elevator restrictions, and whether any item is unusually heavy, fragile, damaged, or difficult to access.
A Pre-Move Furniture Disassembly Checklist
Use this checklist for each item rather than treating the whole home as one project. A separate record makes it easier to find parts and identify a problem before the truck is loaded.
Before disassembly
- Identify the furniture item, current room, and intended destination.
- Decide whether it is designed to come apart and whether each planned removal is clear and accessible.
- Check for looseness, cracks, missing hardware, or previous damage.
- Photograph the assembled item, orientation, existing damage, and relevant connection points.
- Read available instructions and keep them with the item’s records.
- Clear the work area, protect the floor as appropriate, and keep children and pets away.
- Prepare labels, separate containers, notes, a phone or camera, and suitable protective materials.
During disassembly
- Remove only accessible components that you understand and can support safely.
- Keep each item’s hardware separate and label it immediately.
- Record left, right, front, back, top, bottom, and other orientation information.
- Place removed parts in a controlled location, not a doorway or travel path.
- Stop if a connection sticks, a component shifts, a mechanism is involved, or force becomes necessary.
Before loading
- Wrap panels, shelves, doors, drawers, legs, and other parts according to their materials and finishes.
- Protect corners and exposed edges without covering or losing labels.
- Secure each hardware container with the correct item or record its box location.
- Check rooms, doorways, stairs, corridors, elevators, and the loading area.
- Confirm that every component is stable, identifiable, protected, and manageable.
- Tell the moving crew about damage, fragile surfaces, unusual construction, and uncertain parts.
After delivery
- Keep records and hardware accessible until the furniture is assembled and checked.
- Confirm the intended position and orientation before reconnecting parts.
- Compare delivered components with your inventory and look for missing hardware.
- Stop if a part does not fit, a connection is unclear, or the item does not feel stable.
- Do not discard leftover parts until reassembly and operation are complete.
How EC Movers Ltd Can Support Your Move
EC Movers Ltd provides residential moving services for homes and apartments in Windsor and Essex County, along with local and long-distance moving support across Canada. For a furniture disassembly project, relevant services may include loading, transportation, unloading, furniture assembly, and setup of the new space.
The company also offers full-service packing and unpacking, packing-material consultation, and short-term storage coordination. These options may help when disassembled parts need additional protection, when a move is staged over more than one date, or when furniture cannot go directly into its final room. Confirm the precise service and price for your items rather than assuming a general moving booking includes every preparation task.
EC Movers Ltd states that it operates as a fully insured moving company and is WSIB certified. Those credentials may be important when comparing moving companies, but they do not replace a conversation about the furniture, disassembly work, packing method, access conditions, or responsibility for assembly. Ask questions before confirming the booking.
For a Windsor-area move, provide pickup and delivery addresses, furniture types, photographs where useful, floors or access restrictions, and whether you want help with packing, loading, transport, unloading, assembly, or setup. EC Movers Ltd serves Windsor and nearby communities including LaSalle, Tecumseh, Amherstburg, Kingsville, Leamington, Lakeshore, Essex, Tilbury, and Chatham, as well as other listed service areas.
Frequently Asked Questions
Should every piece of furniture be disassembled before moving?
No. Disassemble only parts clearly designed to come off and removable without force, instability, or interference with a mechanism. Some furniture is safer assembled, while other items need professional assessment because of size, condition, construction, or access. The aim is a controlled move, not the smallest possible package.
How can I keep furniture hardware from getting lost?
Use a separate labelled bag or container for each item, dividing contents further when there are distinct hardware groups. Photograph connections, write orientation notes, and keep the container with the wrapped parts or record its box location. Keep all unused pieces until the furniture is fully reassembled and checked.
What should I do if a furniture connection will not loosen?
Stop applying force. A stuck connection may be damaged, under load, concealed, glued, or part of a mechanism. Photograph the area, note what you observed, and ask a professional mover or another appropriately qualified person to assess it. Stripping hardware or damaging surrounding material can create a larger problem.
Can movers handle furniture disassembly and reassembly?
Some moving companies offer furniture assembly and may discuss disassembly as part of a broader move, but the scope is not necessarily included in every booking or for every furniture type. Ask the company to confirm whether the quote includes disassembly, protection, loading, transport, unloading, assembly, and setup. Share details about mechanisms, damage, access, and uncertainty before booking.
Conclusion: Disassemble Only What You Can Control
A safe furniture disassembly process starts with a decision, not a tool. If connection points are clear, the item is in sound condition, and you can remove the component without force or unsafe handling, document it first and proceed one part at a time. Label every fastener, keep each item’s components together, protect finished surfaces, and preserve the information needed for reassembly.
Stop when furniture becomes unstable, a connection will not release, a mechanism is involved, the access route is difficult, or you are no longer confident that the item can be reassembled correctly. When the work exceeds straightforward preparation, ask a moving company to confirm the appropriate scope.
For residential moves in Windsor and Essex County, contact EC Movers Ltd to confirm moving, packing, transport, furniture assembly, new-space setup, and quote details for your specific items.
Ready to move?
Get your free quote from EC Movers today.