
How to Disassemble a Pool Table for Moving Without Missing Critical Steps
Learn how to disassemble a pool table for moving, protect slate and parts, and decide when professional reassembly and levelling is the safer choice.
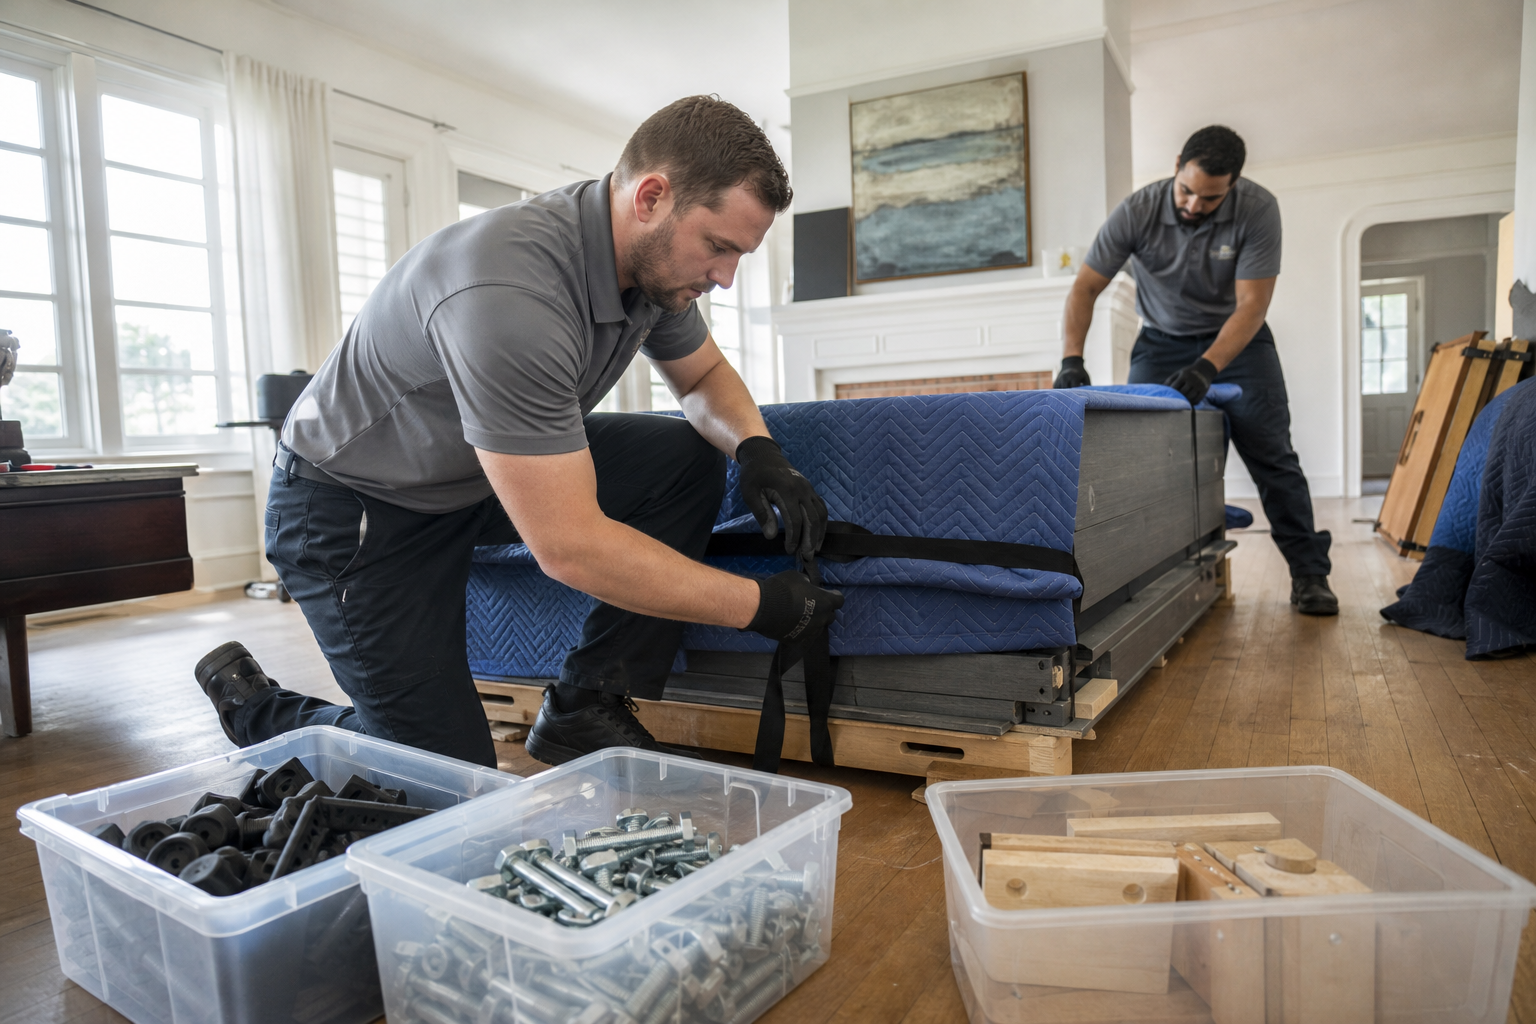
Pool table dismantle steps vary by table design, construction and condition. Before removing a bolt, identify the model, find its instructions if available, and decide whether you have the equipment, helpers and access needed to handle the parts safely.
For many owners, the safest approach is to complete the planning, photographing and labelling themselves, then have trained movers handle disassembly, slate protection, transport, reassembly and levelling. The goal is not simply to move the table. It is to deliver it in a condition that allows it to play properly at its new location.
Quick summary
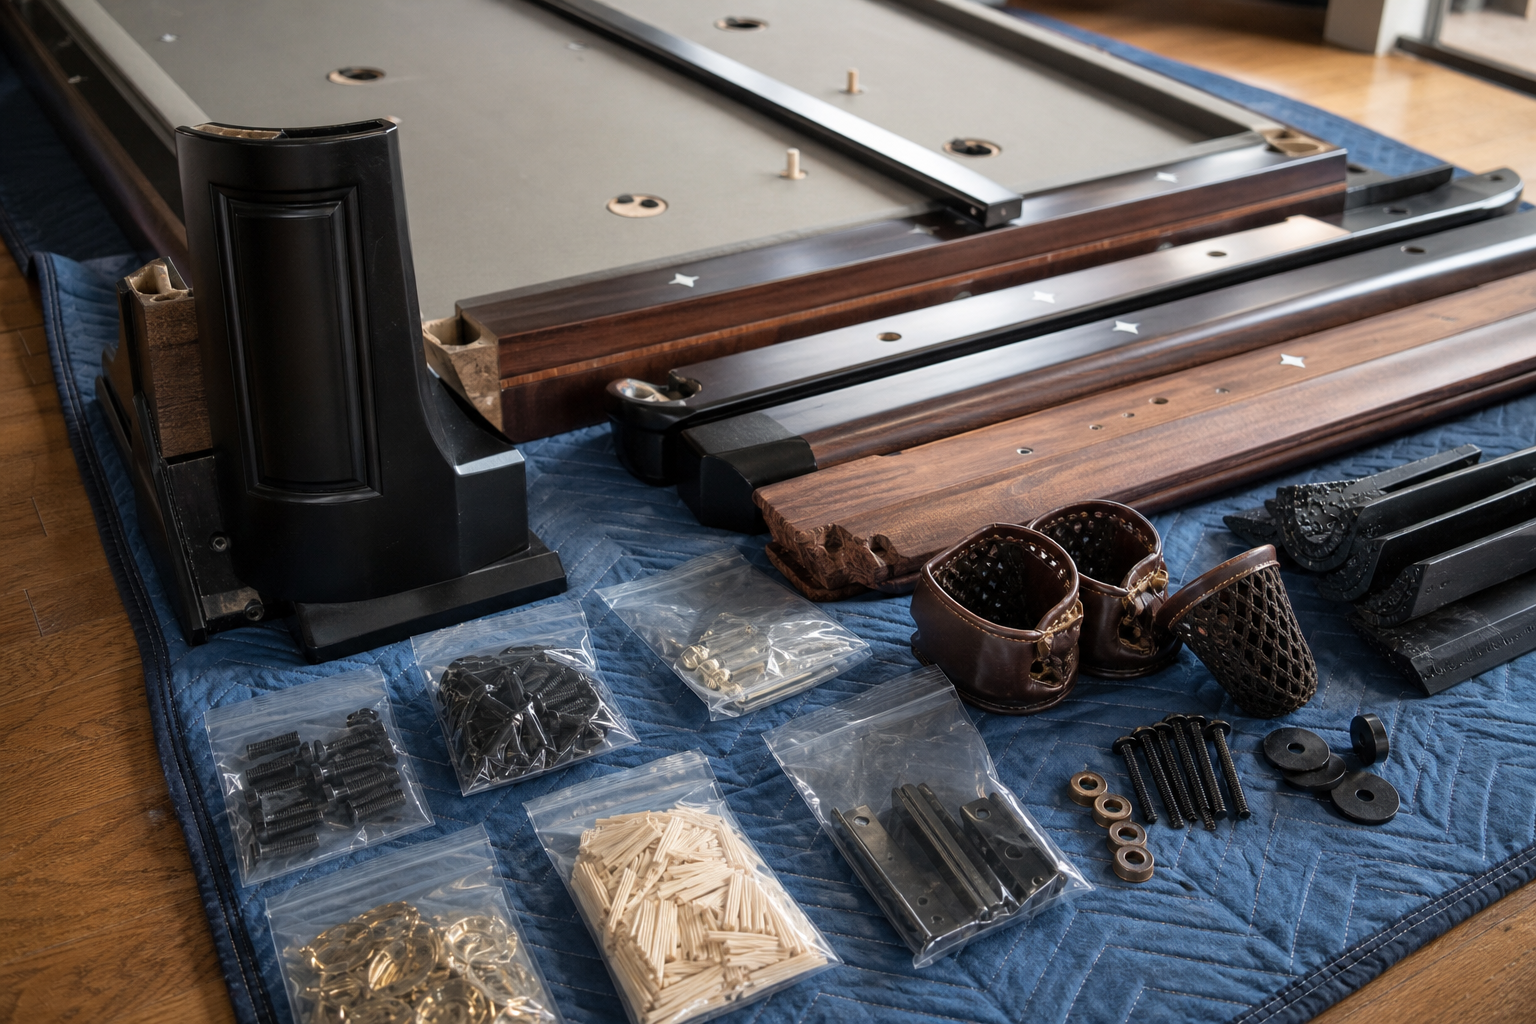
- Pool tables do not all come apart in the same way, so avoid following a universal fastener sequence.
- Photograph the table, measure the route and label every hardware group before removing components.
- Protect rails, cloth, cabinet pieces, hardware and slate from impact, moisture and scratches.
- Confirm who is responsible for disassembly, storage, reassembly, levelling, repairs and re-felting.
- Use specialist help when access is difficult, components are heavy or instructions are unavailable.
Decide first: DIY preparation or professional disassembly?
Homeowners can often make a move safer by preparing the route, documenting the table and organizing its parts. Full disassembly is a different decision because it may involve heavy components, delicate surfaces and construction details that vary by model.
Before following these pool table dismantle steps, compare your plan with the professional pool table moving process, which includes disassembly, slate protection, setup and accurate levelling.
| Consideration | DIY preparation may be suitable | Professional handling is safer |
|---|---|---|
| Table design | You have reliable instructions and understand the construction. | The table is unfamiliar, custom-built, older or damaged. |
| Helpers and equipment | You have enough capable helpers and safe supports. | You would need to improvise lifting or carrying. |
| Access | The route is clear, level and wide. | There are stairs, tight turns, elevators or difficult parking. |
| Finishing work | No repairs or cloth work are required. | The table needs re-felting, repairs, seam treatment or precise levelling. |
Before dismantling: prepare the table and route
Start with information, not tools. Record the manufacturer, model, approximate age and visible damage. Find the owner’s manual or installation instructions, and contact the manufacturer or a qualified specialist if the design is unclear.
Document the table
- Take wide photographs from every side.
- Photograph rail joins, legs, pockets, hardware and existing marks.
- Mark the orientation of parts with removable labels.
- Measure doorways, halls, stair landings, elevators and turns.
Arrange a clear staging area and a secure place for removed parts. Use this pool table moving day preparation checklist to clear access routes, label hardware and confirm who is responsible for reassembly.
Prepare separate, sealable containers for each hardware group. Label them by rail, leg or cabinet section, keep them dry and attach them to the relevant part without placing tape on finished surfaces. Protect floors and doorways, remove trip hazards, and keep children and pets away from the work area.
Pool table dismantle steps: a model-aware sequence
This is a planning framework, not a universal instruction manual. Fastener locations, cloth attachment and playing-surface construction differ considerably. Stop if a component does not release as expected, and never force a joint or pry against a finished surface.
1. Photograph and inventory everything
Complete photographs and the hardware inventory before removing anything. Record which rails, legs, pockets, panels and accessories belong together.
2. Remove or secure accessories
Remove balls, cues, covers and other loose items. Store them separately so they cannot become trapped beneath heavier components.
3. Identify removable sections
Use the manufacturer’s documentation to determine how the rails, pockets, cloth and playing surface separate. Do not assume a visible seam marks the correct dismantling point.
4. Label hardware as each section is removed
Finish one component group before moving to the next. Photograph each connection and record washers, spacers or shims in their original position.
5. Protect each component immediately
Place rails, panels and structural pieces on stable, protected surfaces. Use padding that will not stain the finish or transfer moisture, and keep cloth away from sharp hardware.
6. Treat heavy sections as a team lift
Slate and other playing-surface sections can be heavy and vulnerable to impact. Never lift one alone or carry it through a narrow route without adequate help and a safe place to set it down.
Protect the parts that affect condition and play
Keep rails, cabinet pieces and finished components separated so they cannot rub together. Protect corners and edges from impact, keep hardware dry, and never place components on a wet floor.
Slate or comparable playing-surface sections need particular care. Keep them supported as designed, prevent sliding and avoid placing weight on them. Tables do not all have the same number, thickness or arrangement of sections.
Protect cloth from dirt, moisture, creasing and sharp objects. If it must be removed, record how it was attached and decide whether it can be reused. Re-felting may be more practical if the cloth is worn or damaged.
Reassembly and levelling are part of the move
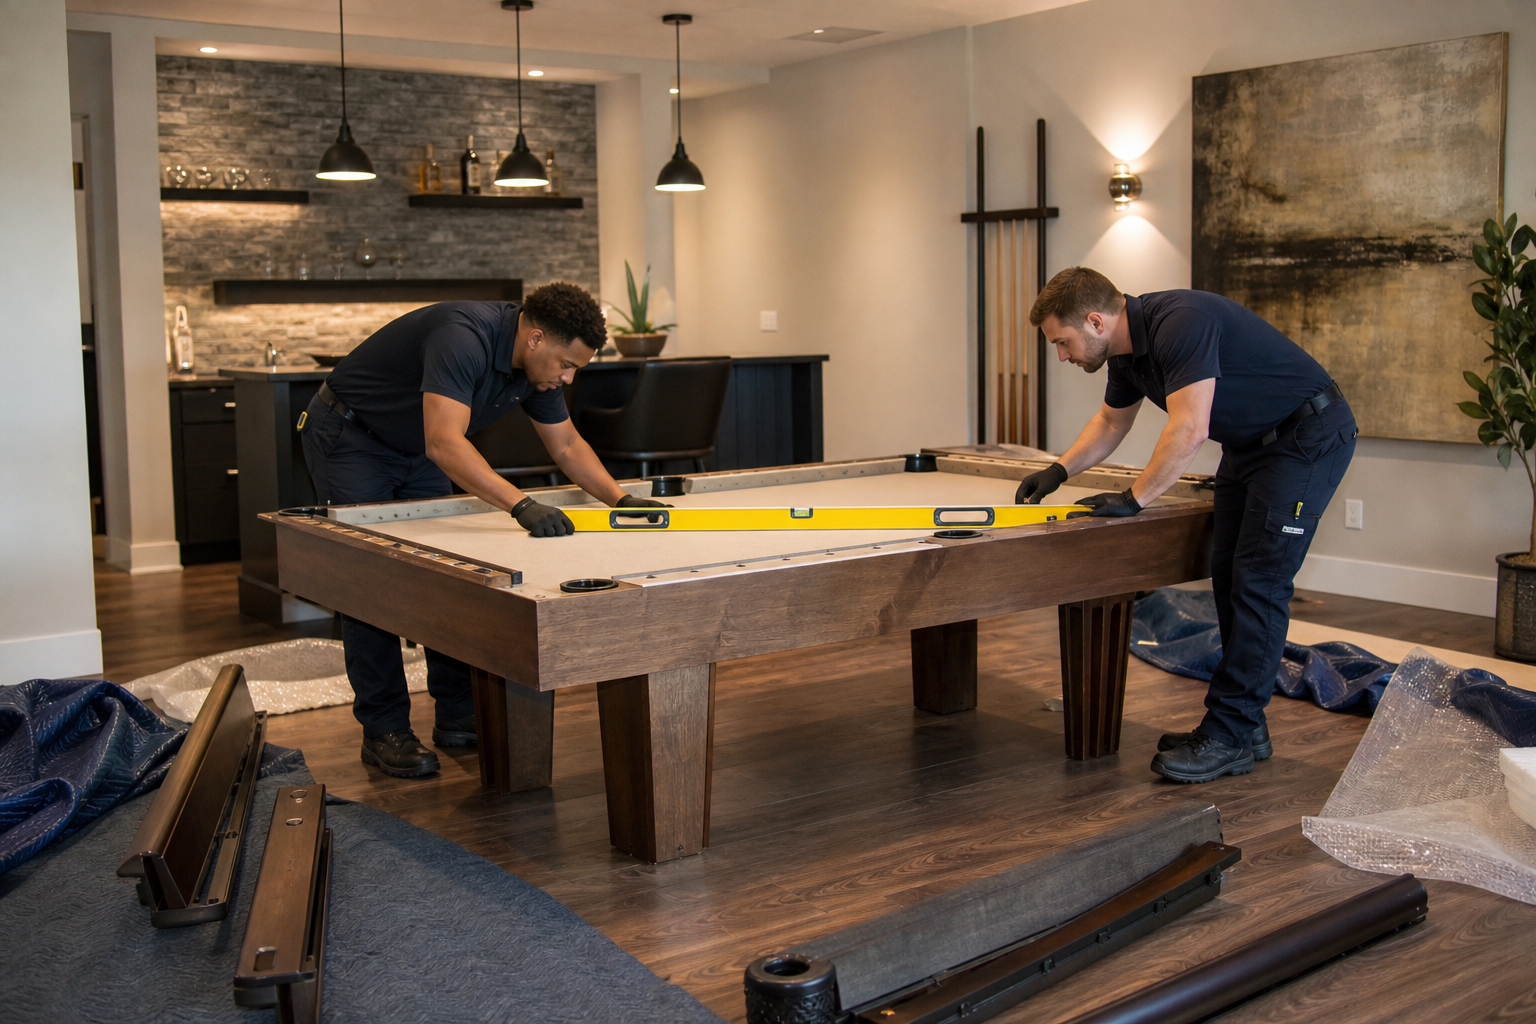
Reassembly is not merely cosmetic. The position of the playing surface, seam condition and final level can affect how balls roll and how the table plays.
EC Movers describes using a machinist level, beeswax and resin compound for holes and seams, and moisture-resistant composite shims during setup. These are examples of specialist methods, not universal DIY requirements. The correct materials depend on the table and its components.
Before delivery, agree whether the work includes reassembly, levelling, seam treatment, cloth replacement, repairs and a final playing-surface check.
Moving-day checklist
- Confirm arrival, parking, building access and elevator restrictions.
- Keep the route clear and protect floors, corners and doorways.
- Have model information, photographs and instructions available.
- Keep labelled hardware with the table parts.
- Confirm who handles slate and other heavy sections.
- Document condition before loading and after setup.
- Confirm the destination position and route.
- Agree who completes reassembly, levelling, repairs and re-felting.
Questions to ask before booking pool table movers
- Will your crew disassemble this specific table?
- How will you protect and carry the playing surface and rails?
- Will the same crew handle loading, transport, unloading and reassembly?
- Is professional levelling included, and how will it be checked?
- Can you handle re-felting, seam treatment, repairs or spare parts?
- Who tracks the hardware during transport?
- What measurements and access details do you need?
- How are existing marks and damage documented?
- What insurance and responsibility arrangements apply?
EC Movers’ broader moving services information identifies pool table work alongside residential, commercial, long-distance, packing and other specialty services. Confirm exactly what is included for your table and route.
If the destination floor will be refinished before setup, coordinate that work first and follow the contractor’s guidance for preparing concrete surfaces, such as this concrete preparation guide.
When professional pool table moving makes more sense in Windsor and Essex County
Professional help is safer when you lack instructions, suitable lifting equipment, reliable helpers or confidence in the sequence. It is also sensible when the table has stairs, tight turns, an elevator, long carrying distances or unfamiliar construction.
Specialist assistance is especially valuable when the move requires accurate reassembly and levelling, cloth replacement, repairs or spare parts. EC Movers Ltd states that it provides pool table moving, setup, repairs, re-felting and spare-parts services in Windsor and Essex County.
Frequently asked questions
Does every pool table come apart the same way?
No. The sequence depends on the model, construction, cloth attachment and playing-surface design. Use the manufacturer’s instructions where available.
Should I remove the felt before moving a pool table?
Not automatically. Confirm the correct approach for the specific table and decide whether the cloth will be reused or replaced.
How should slate be protected?
Keep each section supported, dry and protected from impact, sliding and sharp hardware. If you lack a safe handling plan, use specialist movers.
Who should reassemble and level the table?
Agree on responsibility before booking. Professional reassembly and levelling are preferable when the table is complex or accurate playability matters.
Can a mover handle repairs or re-felting?
Some specialist movers provide these services, but confirm availability and scope before the move.
Conclusion: protect the table by planning the whole move
The safest pool table dismantle steps begin before the first fastener is removed. Identify the table, document its condition, measure the route, label every part and protect components immediately. Treat heavy playing-surface sections as specialist handling work unless you have the correct instructions, equipment and help.
DIY preparation can reduce confusion, but disassembly, slate protection, transport, reassembly and levelling are connected tasks. If any part is uncertain, specialist support can help protect the table and its future playability.
For a pool table move in Windsor or Essex County, request a quote from EC Movers Ltd and confirm the required disassembly, transport, reassembly, levelling and finishing services before booking.
Ready to move?
Get your free quote from EC Movers today.