
How to Level a Pool Table After a Move: DIY Steps and When to Call a Professional
Learn how to level a pool table after moving it, compare DIY with professional setup, and follow a careful checklist for slate, felt, rails, and testing.
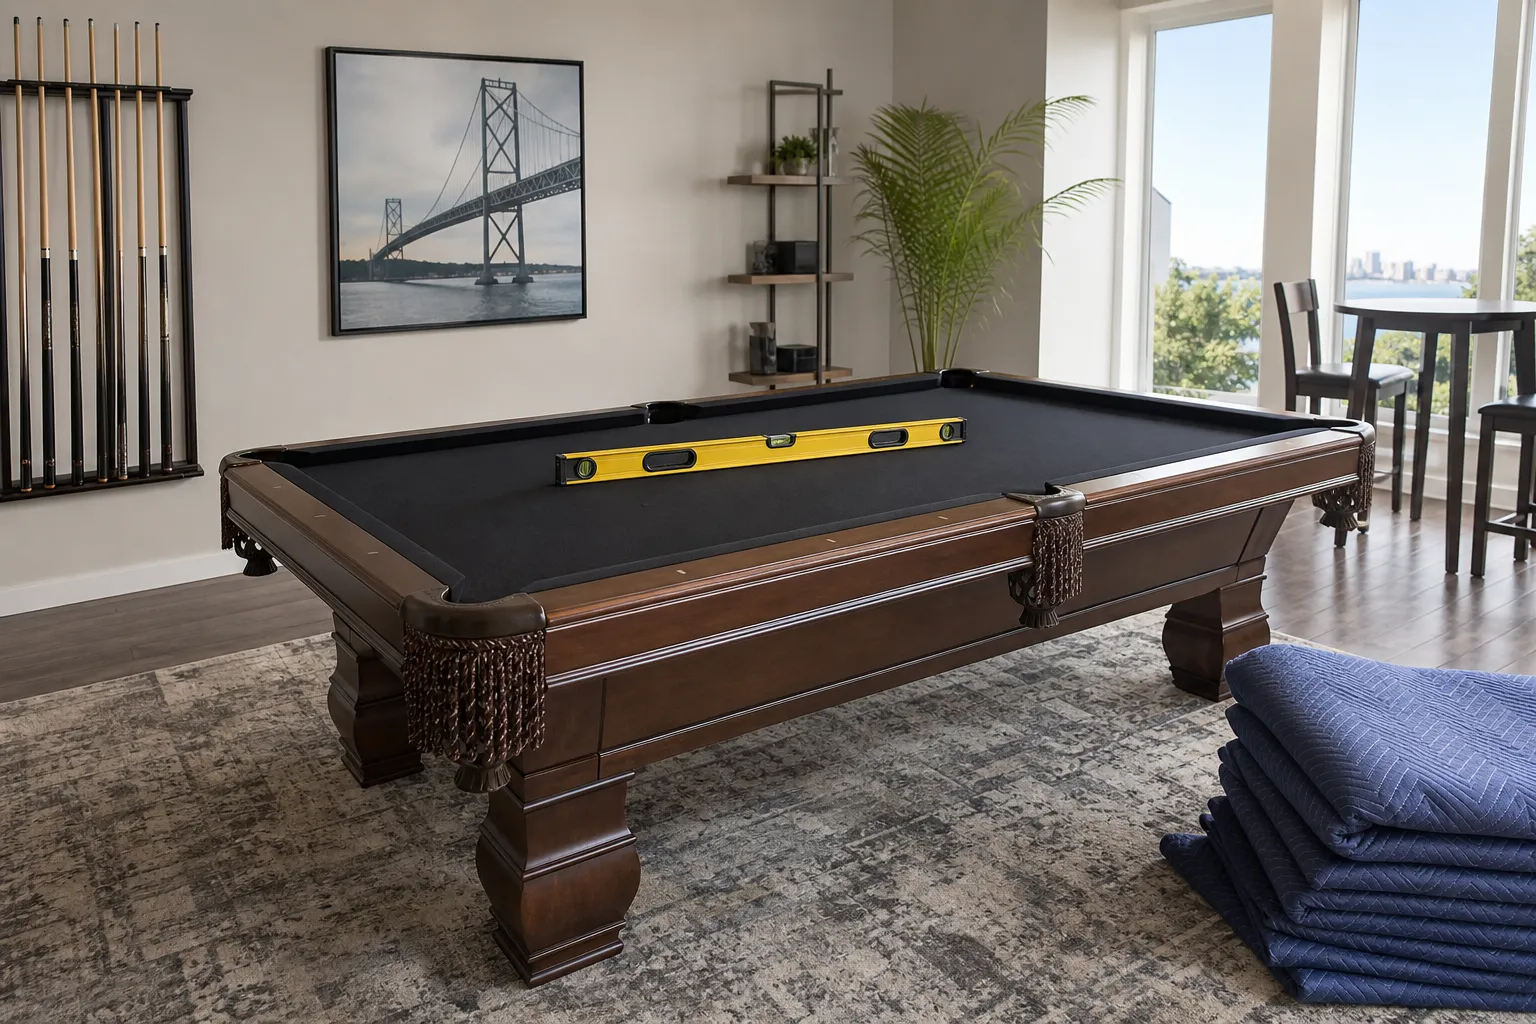
An uneven pool table after a move may have more than one cause. The frame may not be square, the slate may be out of position, a seam may be raised, the floor may be uneven, or the felt may have shifted. Inspect the table first, then decide whether you need a small adjustment or full reassembly.
This pool table leveling guide covers the sequence from inspection through final ball-roll testing. Minor adjustments may be manageable if the table is already assembled and you have suitable help, but moving slate, dismantling rails, or correcting a complex installation can quickly become specialist work. For broader preparation advice, including disassembly, transport, slate placement, and reassembly, review this pool table moving guide.
Quick summary
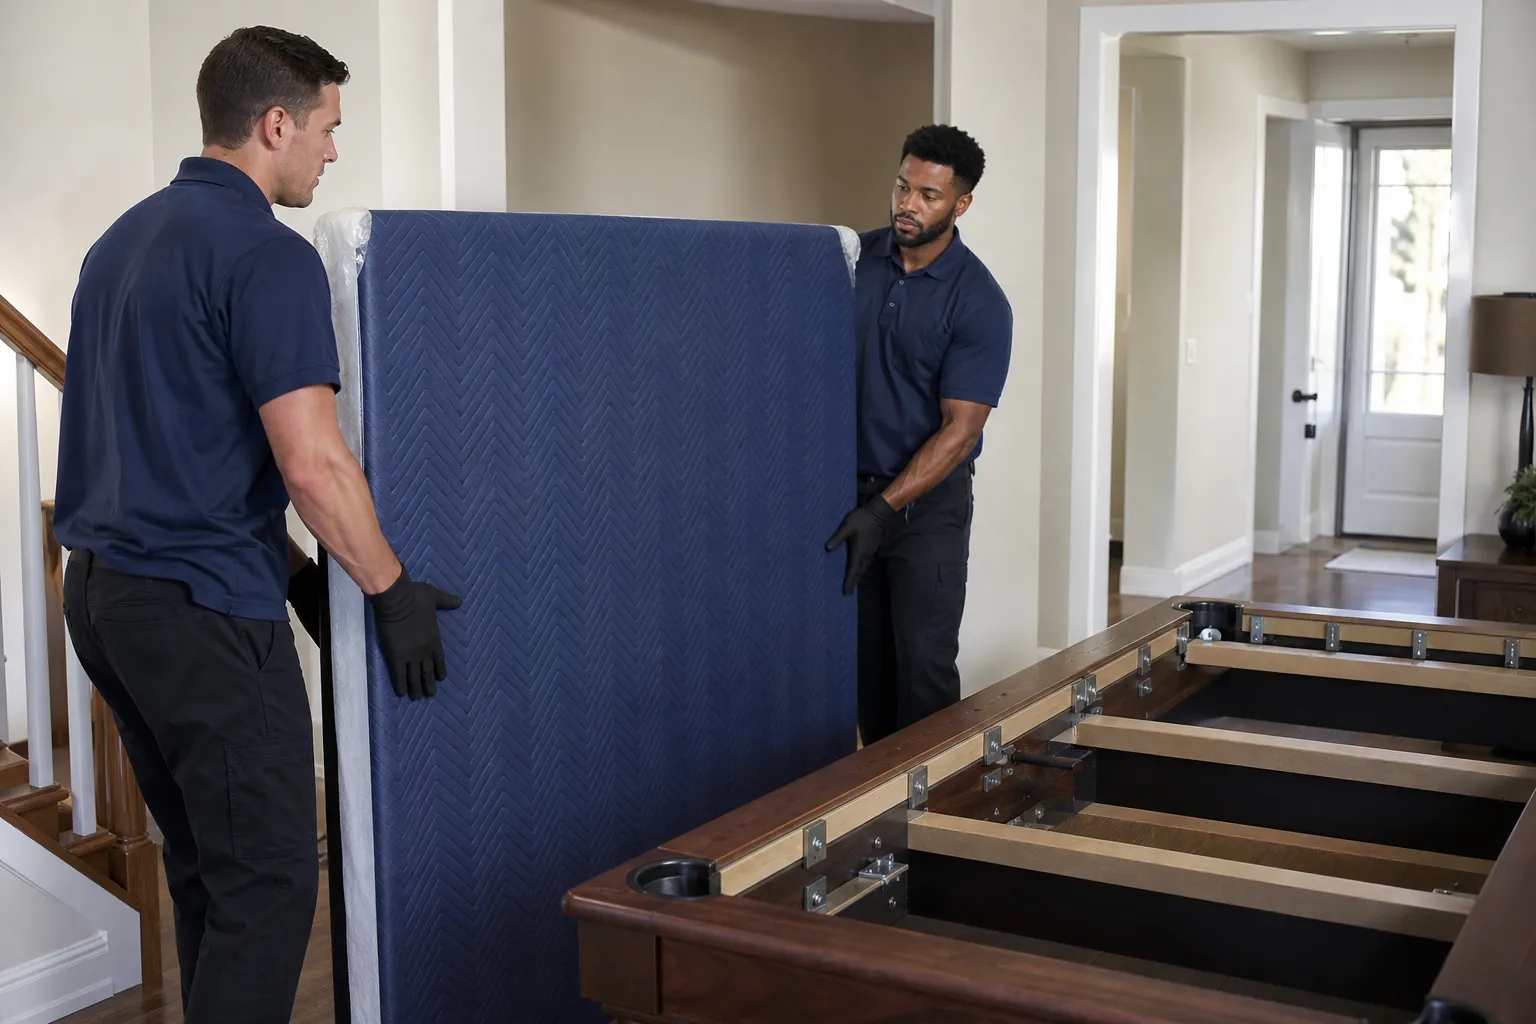
- Inspect the frame, slate, seams, felt, rails, and pockets before making adjustments.
- Measure and clear the route before moving heavy components, then prepare the final room.
- Assemble and square the frame first, then return labelled slate sections to their original positions.
- Check the surface lengthwise, crosswise, and diagonally. Make small adjustments and recheck each time.
- Stop if lifting is unsafe, disassembly is uncertain, components are damaged, or the result remains uneven.
In this guide
- Deciding whether DIY levelling is appropriate
- DIY or professional setup comparison
- Inspecting the table
- Preparing the room and route
- Reassembling the frame
- Placing slate and treating seams
- Checking and adjusting the playing surface
- Refitting felt, rails, and pockets
- Final testing
- When to call a professional
First, decide whether DIY levelling is appropriate
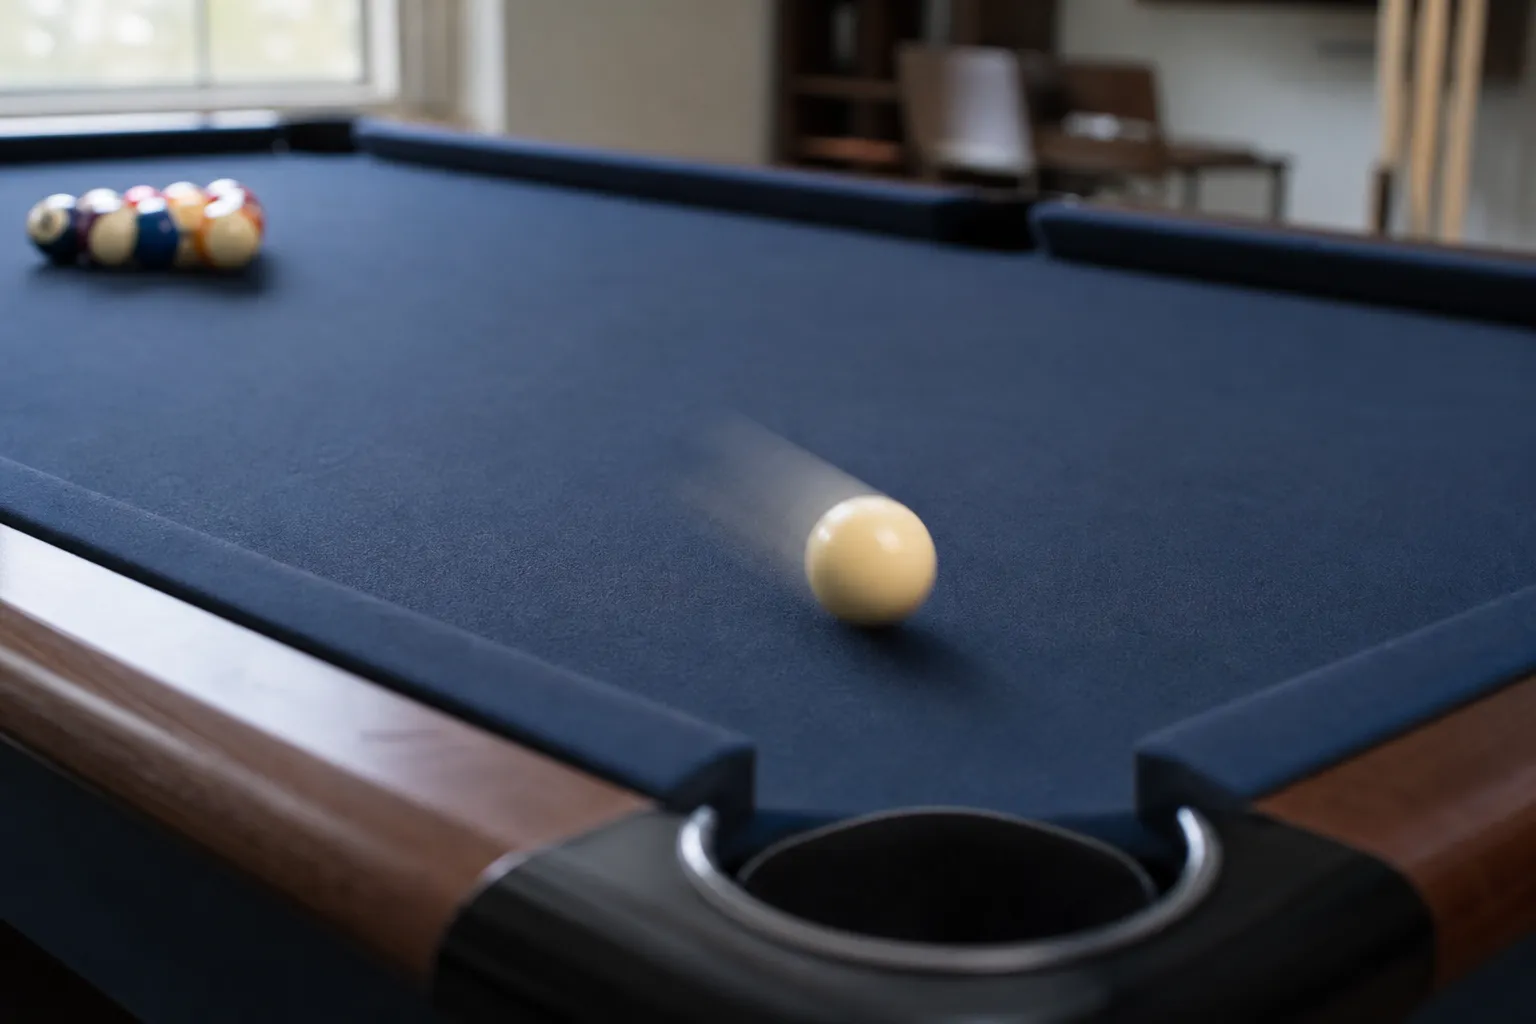
The key distinction is between a minor adjustment to an assembled table and a full post-move setup. A small adjustment may be reasonable when the table is stable, the cause is clear, and you can work without lifting heavy components.
Full setup may involve removing or repositioning slate, protecting finished wood, aligning seams, reinstalling felt, and attaching rails and pockets in sequence. Slate and other components are heavy and awkward, so the work requires capable assistance, a clear route, and suitable equipment.
Choose professional help when you are unsure how the table comes apart, access involves stairs or tight turns, the slate is damaged, the felt is worn, or the table remains uneven after careful checks. An unsuccessful adjustment can create a larger repair problem.
DIY or professional setup: a practical comparison
| Situation | DIY may be suitable when | Professional help is more appropriate when |
|---|---|---|
| Minor adjustment | The table is assembled and the cause is obvious. | You cannot identify whether the frame, slate, floor, or felt is responsible. |
| Moving the table | The disassembly method is known and components can be handled safely. | The table has heavy slate, stairs, narrow access, or uncertain hardware. |
| Reassembly | You can label components and follow the original sequence. | Slate alignment, seams, rails, pockets, or ball-return parts are difficult to match. |
| Final levelling | You have a reliable level and can recheck repeatedly. | The surface remains inconsistent or you lack suitable equipment and assistance. |
Inspect the table before adjusting anything
Pool tables are built differently. Identify whether the playing surface is slate or another material, and determine whether the slate is one piece or several sections. Multi-piece slate requires careful labelling so each section returns to its correct position.
Inspect the rail and pocket style. Drop pockets, ball-return systems, bolts, clips, and staples may require different removal and reinstallation steps. Check whether the legs detach from the frame, and examine the felt for rips, stretched areas, stains, or loose edges.
Take photographs before removing anything. Label slate sections, rails, pockets, and hardware clearly. If you find cracked slate, damaged threads, missing hardware, or a shifted frame, do not treat the problem as a simple levelling adjustment.
Prepare the room, floor, and access route
Measure the table and largest components before moving them. Compare those measurements with doorways, hallways, stairs, landings, turns, and the final room. The route needs space for the component and for the people carrying and guiding it.
Clear rugs, furniture, decorations, low fixtures, and other obstacles. Protect floors with suitable runners or moving blankets, and identify safe temporary staging areas. Plan resting points before lifting instead of improvising on a stairway or tight turn.
Use bright, even lighting and allow uninterrupted time. Assign roles in advance, including a lead person, lifters, and someone to watch doors, corners, stairs, and hazards. If you cannot create a controlled route or assemble enough help, stop before moving the table.
Reassemble and square the frame first
Position the base in its final location before placing the slate. Assemble the legs and frame on a clean, stable floor, then check that the hardware is secure and the frame is square. Do not place the playing surface on a base that is twisted, unstable, or visibly misaligned.
Keep the frame in its intended position while checking it. Moving the assembled base after slate placement can introduce alignment problems and makes the heavier stage more difficult. If a leg, fastener, or frame member does not fit as expected, pause rather than forcing it.
Place the slate and treat the seams carefully
Return slate sections according to your labels and photographs. Nudge each section gently into position, avoiding leverage against finished wood. Slate should be supported and controlled rather than dragged across the frame.
After positioning, remove dust from the seams and playing surface. Where the table design calls for seam treatment, EC Movers’ supplied guidance describes beeswax mixed with resin for filling holes and seams. Apply any material sparingly and aim for a smooth surface. If a seam remains raised, open, or uncertain, seek advice before covering it with felt.
Check and adjust the playing surface
Use a reliable level across several areas. Check lengthwise, crosswise, and diagonally instead of relying on one reading near the centre. Different readings help show whether the issue is isolated or affects the frame and slate more broadly.
- Check the table lengthwise and note the result.
- Repeat the check across the width.
- Check diagonally in more than one direction.
- Make a small adjustment between the frame and slate with a suitable shim where needed.
- Repeat all checks after each adjustment.
Make controlled, incremental adjustments. Large changes can create a new high or low area elsewhere. EC Movers states that its pool table crews use a machinist level and moisture-resistant composite wood shims during setup and levelling.
Refit the felt, rails, and pockets
Felt may be reusable if it can be removed without damage and still lies flat. Carefully remove staples where applicable, keep the material clean, and inspect it for worn or stretched areas before reinstalling it.
Lay reusable felt flat and align it carefully. If it is stapled, work from a centre point and alternate between opposing sides while maintaining even tension. This helps avoid ripples. For glued felt, follow the adhesive instructions rather than applying it by guesswork.
Reinstall rails and pockets in the labelled sequence. Tighten rail hardware gradually and evenly, and confirm that pockets or ball-return parts are clear and correctly attached. Stop if hardware does not align, rails rock, or the felt wrinkles.
Complete the final testing checklist
- Confirm the frame and legs are stable.
- Check that the slate is clean and seams feel smooth.
- Inspect the felt for ripples, loose edges, or damage.
- Confirm rails, pockets, and ball-return parts are secure.
- Roll a ball gently in multiple directions.
- Make only small corrections, then repeat the tests.
A ball-roll test does not replace inspection of the frame, slate, seams, and felt. If the ball behaves inconsistently, identify whether the issue is levelling, surface condition, rail alignment, or another component before adjusting further.
Common mistakes that make levelling worse
- Adjusting before inspecting: A shim will not solve damaged felt, a loose rail, or an incorrectly assembled frame.
- Skipping route planning: A component that fits through a doorway may not turn safely in a hall or on stairs.
- Working with too few people: Heavy, awkward parts should not be lifted beyond the team’s ability to control them.
- Using one level reading: One position can miss a slope or twist elsewhere.
- Forcing slate or rails: Resistance may indicate incorrect positioning, damaged hardware, or the wrong sequence.
- Stopping after one roll: Test in several directions and recheck after every adjustment.
When to call a professional pool table mover or installer
Professional help is sensible when the job combines heavy slate, restricted access, uncertain disassembly, damaged parts, complex reassembly, or a surface that remains uneven. It is also appropriate when you lack a reliable level, suitable protection, enough assistance, or a safe place to stage components.
For Windsor and surrounding communities, EC Movers states that it provides pool table moving, setup or installation, and professional levelling. Its service information also describes disassembly, secure packing, transport, reassembly, and levelling using specialist equipment such as a machinist level and composite wood shims.
Before booking, explain the table’s construction, slate configuration, access route, stairs, felt condition, and destination room. This helps determine whether you need transport only, full reassembly, setup, levelling, or recover work.
Frequently asked questions
Can I level a pool table without removing the slate?
Sometimes, if the table is assembled and the unevenness is minor and understood. A post-move problem may involve slate placement, seams, or the frame, so do not adjust heavy slate without enough help and a controlled plan.
Can pool table felt be reused after moving?
It may be reusable if it comes off without damage and remains flat, clean, and suitably tensioned. Worn, stretched, torn, or rippled felt may need attention first.
How do I know whether the frame or slate is causing uneven play?
Inspect the frame first, then check the surface lengthwise, crosswise, and diagonally. If readings vary or the problem continues after small adjustments, the cause may involve the frame, slate, seams, or floor.
Should I hire professional help to reassemble a pool table?
Consider professional help when the table has heavy or multi-section slate, stairs or tight access, unfamiliar hardware, damaged components, or a complex felt and rail system. It is also appropriate when you lack the equipment or assistance required.
Does EC Movers provide pool table setup and professional levelling in Windsor?
Yes. EC Movers states that it provides pool table moving, setup or installation, reassembly, and professional levelling in Windsor and surrounding areas.
Conclusion: level methodically, and stop before the risk rises
Inspect first, prepare the route and room, square the frame, place the slate carefully, treat the seams, check the surface in several directions, and test again after every adjustment. Levelling is only one part of the result, so also inspect the felt, rails, pockets, and frame.
If the work involves heavy slate, restricted access, uncertain disassembly, damaged components, or repeated uneven results, Windsor-area readers can contact EC Movers Ltd for pool table moving, setup, or professional levelling.
Ready to move?
Get your free quote from EC Movers today.