
A Practical Guide to Pool Table Moving Guide
Explore pool table moving guide with practical guidance, key questions, and clear next steps before you contact EC Movers Ltd or make a decision.
A Practical Guide to Pool Table Moving Guide
Moving a pool table is a unique challenge. Beyond the weight, many tables include delicate components—slate, cushions, pockets, rails, and felt—that demand careful handling and methodical planning. This practical guide walks you through the entire process: how to assess your table, plan the route, protect each part, lift and transport safely, and reassemble with confidence. Use the checklists to organize your move, reduce risk of damage, and save time on moving day.
Understand your table
Before lifting a single tool, learn what you’re moving. Pool tables vary by build and break down differently. A quick assessment helps you anticipate the steps and materials you’ll need.
- Construction: Many higher-quality tables use one or more slate pieces beneath the felt; some recreational tables use non-slate surfaces. Slate requires extra care and stable, padded transport.
- Slate configuration: Single-slate tables are heavy and unwieldy. Three-piece slate tables spread weight across sections, but require careful labeling and leveling during reassembly.
- Rail and pocket style: Some tables have leather drop pockets; others use ball returns. Rail and pocket attachment methods (bolts, clips, or staples) determine the tools you’ll need.
- Leg assembly: Legs may be detachable or integrated with the frame. Detachable legs simplify doorway clearance.
- Felt condition: Reusing felt is possible if you carefully remove staples and handle it gently. If your felt is worn or you plan a refresh, this move is a natural time to replace it.
Plan the move
A pool table move succeeds or fails in the planning. Map the pathway, prepare your team, and control the environment before you begin.
- Measure everything: Measure the table, all doorways, hallways, stairs, turns, and the final room. Compare the tightest dimension along the path to your largest components (often slate and frame).
- Clear the route: Remove rugs, décor, low-hanging fixtures, and obstacles. Protect floors along the path with runners or moving blankets.
- Stair strategy: Plan spotters, resting points, and where to pivot on landings. Pre-position hand trucks and straps.
- Vehicle loading plan: Identify how each component will be loaded, padded, and secured. Slate and rails should not shift or rub during transit.
- Team roles: Assign a lead, two lifters at minimum for heavy components, and a spotter who manages doors and hazards.
- Lighting and timing: Ensure bright, even lighting and set aside uninterrupted time. Rushing increases the chance of damage.
Tools and materials
Having the right equipment on hand keeps the process orderly and reduces the risk of injury or damage.
- Hand tools: Socket set, combination wrenches, screwdriver set, staple remover or narrow pry tool, rubber mallet (optional).
- Protection materials: Moving blankets, felt-safe surface to roll or fold felt, stretch wrap, painter’s tape, corner protectors, heavy-duty zip bags for hardware.
- Lifting and moving: Forearm lifting straps, furniture dollies, a wide-deck hand truck, and lifting gloves with grip.
- Labeling and organization: Blue painter’s tape and a permanent marker to label rails, pocket positions, and slate sequence; small boxes or bins to keep hardware grouped by component.
- Optional aids: Laser or bubble level, shims for leveling, soft brush and lint roller for dust before reinstalling felt.
Pre-move prep
Spend a few minutes documenting the table before you disassemble anything.
- Photos: Take wide shots and close-ups of each corner, pocket, rail attachment, ball return path, and leg mounts. Photograph wiring or tubes if you have a return system.
- Labels: Mark rail sections in order (e.g., Head-Left, Head-Right, Foot-Left, Foot-Right) to preserve cushion sequence. Label slate sections and note their orientation (arrows pointing to the same end of the table).
- Clean work area: Clear a large, flat, clean surface to set felt and rails. Dust can imprint on felt if trapped during reassembly.
Step-by-step disassembly
Disassembly reduces weight and risk. Move components in manageable stages and keep parts organized.
- Pockets and ball return: Remove drop pockets or detach return trays and tubes if present. Bag and label all fasteners.
- Rails and cushions: Unbolt rail sections in a star pattern to avoid stress on one side. Keep rails paired with their pockets and hardware. Wrap rails in moving blankets and secure with painter’s tape (not on leather or finished wood surfaces).
- Felt removal: Identify whether your felt is stapled or glued. For staples, gently work from a corner using a staple remover, pulling in line with the surface to reduce stretching. If glued, release felt carefully and keep it supported to prevent creases. Roll felt loosely with the playing surface outward and wrap in clean paper or a blanket.
- Slate: Remove slate screws—often hidden under wax or filler—keeping track of length and position. Label each piece and note orientation. With multiple helpers, lift each slate section straight up, keep it vertical and supported, and set it on a padded, flat surface. Never drag slate.
- Frame and legs: Detach legs if possible. Pad corners and edges of the frame. Keep cross-members and leg hardware together and labeled.
Safe lifting and transport
Pool table parts are heavy and awkward. Use safe body mechanics and stable equipment.
- Lifting basics: Bend at the hips and knees, keep the load close to your body, and lift together on a count. Avoid twisting while holding weight.
- Team coordination: The lead calls movements and rest stops. Spotters control doors, stairs, and transitions over thresholds.
- Using dollies: Secure components on the dolly with straps. Verify the path is clear before moving. Take short, steady steps.
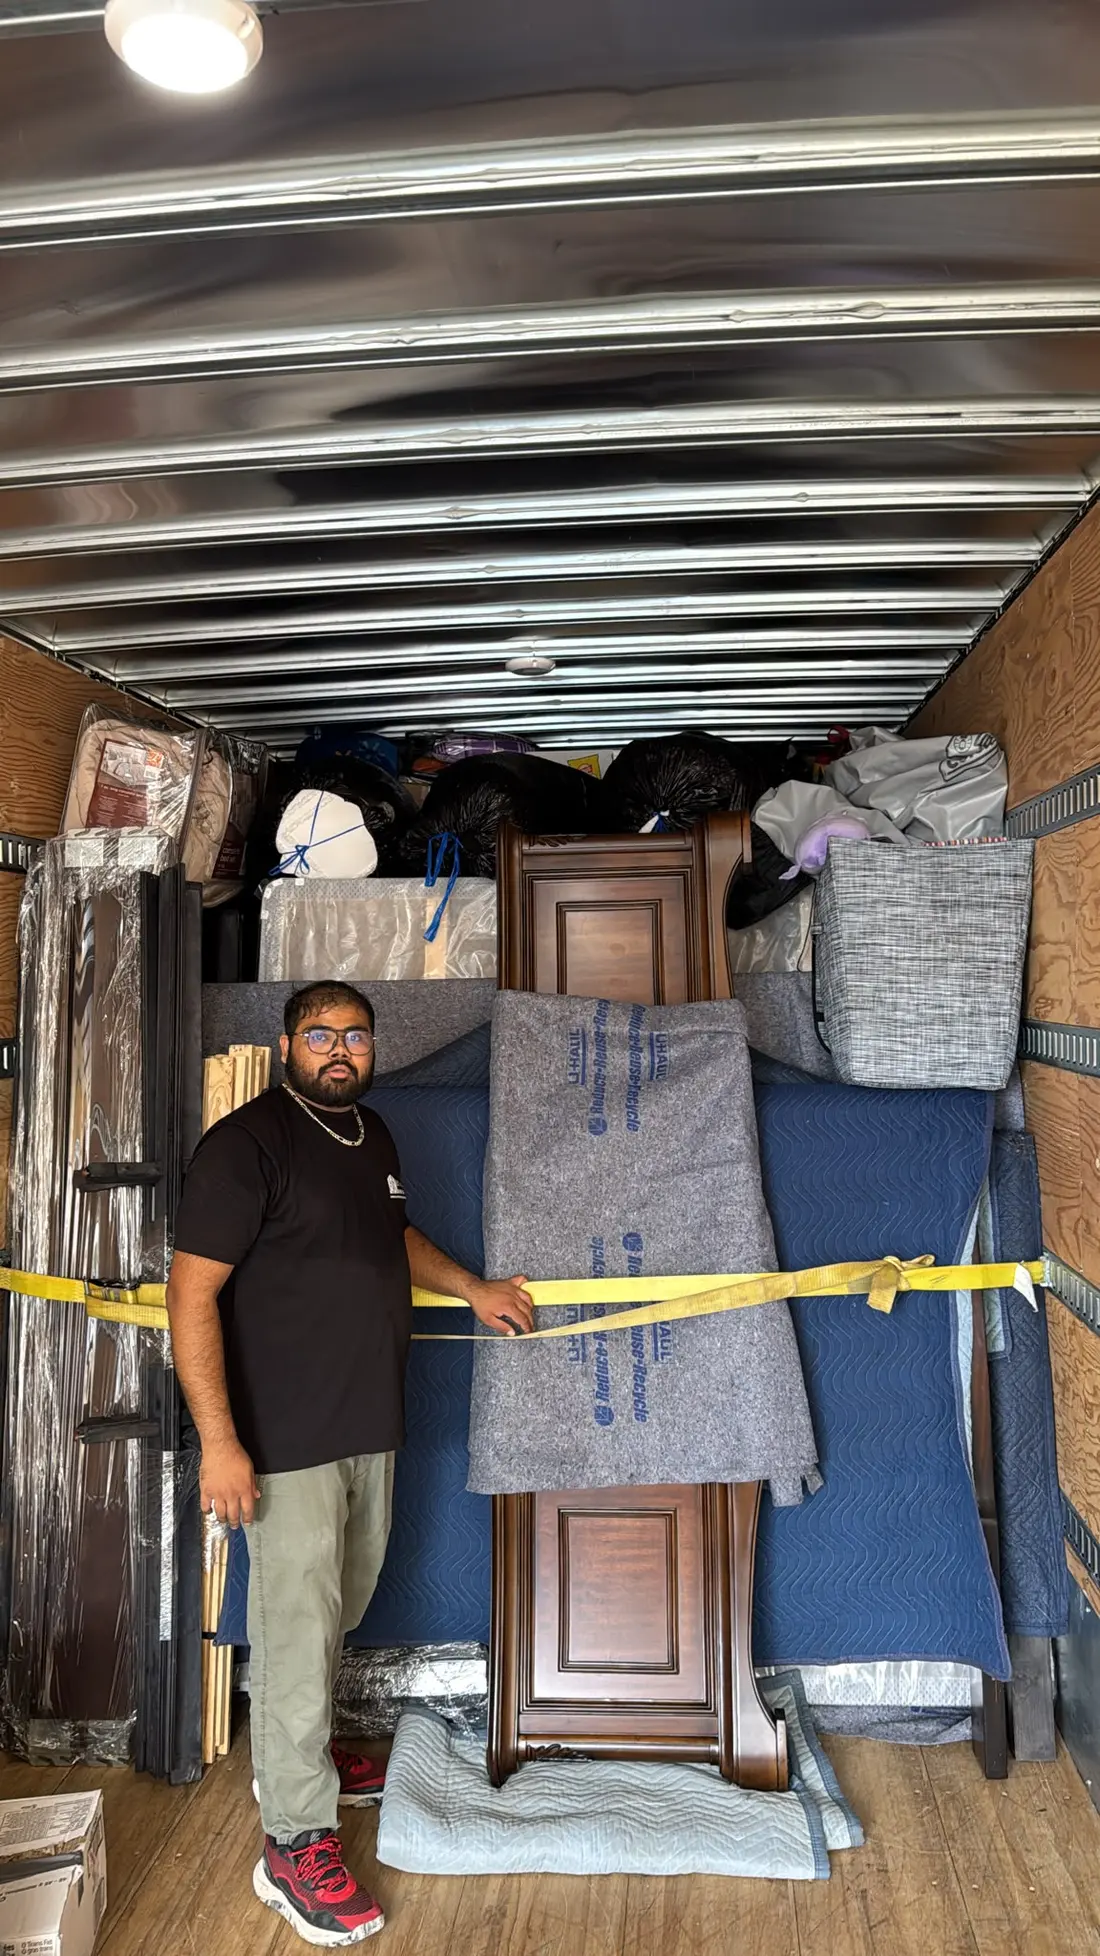
- Vehicle loading: Place slate flat on a level, padded surface. Use multiple moving blankets between slate pieces and ratchet straps that secure without over-tightening. Check that nothing can shift under braking or cornering.
- Climate notes: Keep felt and slate clean and dry. Avoid prolonged exposure to moisture or extreme temperatures during transport.
Protecting components
Prevention is better than repair—especially for slate and finished wood.
- Slate: Wrap each piece fully in thick blankets. Use corner protectors. Store and transport slate horizontally on evenly supported surfaces.
- Rails and frame: Wrap in blankets and add an outer layer of stretch wrap to keep blankets from slipping. Do not apply adhesive tape directly to finished wood or leather.
- Felt: Keep rolled, clean, and protected from compression. Avoid tight rubber bands; use soft ties or paper.
- Hardware: Separate by component in labeled bags. Place all small bags into one larger, clearly labeled bin.
Reassembly and leveling basics
Set the table precisely to preserve play quality. Take your time and work methodically.
- Frame and legs: Assemble the base in the final position on a clean, level floor. Confirm all bolts are snug and the frame is square.
- Slate placement: Position pieces according to your labels. Nudge into place gently; avoid prying against finished wood. Check seams for flush alignment.
- Leveling: Use a reliable level across multiple points—lengthwise, crosswise, and diagonals. Adjust with shims between frame and slate as needed, then re-check after each change. Small adjustments go a long way.
- Seams and surface: Clean dust from slate seams and surface. If your table uses seam filler or wax, apply sparingly and ensure a smooth, even plane. Allow any materials used at the seams to set according to product guidance before proceeding.
- Felt installation: Lay felt flat, align carefully, and pull tension evenly in opposing directions. For staples, start at a center point on one long side, then alternate sides while maintaining even tension to avoid ripples. For glued installations, follow the adhesive’s instructions carefully.
- Rails and pockets: Reinstall rails in the sequence you labeled, tightening hardware in a cross pattern. Reattach pockets or ball return components and verify clear, unobstructed paths.
- Final checks: Roll a ball gently across multiple directions to identify high or low spots. Make micro-adjustments as needed, then re-test.
Common mistakes to avoid
- Skipping labels and photos: Without documentation, reassembly takes longer and can degrade play quality.
- Dragging slate: Even slight dragging risks chipping edges or damaging floors.
- Taping directly on finishes: Adhesive can mar leather and wood; use painter’s tape only on blankets.
- Over-tightening straps: Excess pressure can stress slate or deform rails.
- Uneven tension on felt: Leads to wrinkles and inconsistent ball roll.
- Rushing leveling: Small inaccuracies compound; take your time and verify from multiple angles.
- Understaffing the lift: Err on the side of more helpers for heavy or awkward sections.
Troubleshooting after the move
- Ball drift: Re-check level across the table. Adjust shims in tiny increments.
- Poor rebound: Inspect rail bolts for even torque and ensure cushion alignment is correct.
- Felt wrinkles: Release staples or adhesive in the affected area, smooth tension evenly, and refasten.
- Pocket misalignment: Loosen rail bolts slightly, realign, and retighten gradually in a cross pattern.
Safety first
Protect yourself and your space at every step.
- Personal safety: Use gloves with grip, closed-toe shoes, and avoid loose clothing that can catch on hardware.
- Communication: Count down before lifting, announce turns, and confirm hand placement before shifts.
- Load limits: Know your limits and use equipment appropriately. Do not attempt solo lifts of large components.
- Children and pets: Keep them out of the work area during disassembly, transport, and reassembly.
Pool table moving checklist
- Assess table type, slate configuration, rail/pocket attachment, and leg design.
- Photograph all components and label rails, pockets, slate pieces, and hardware bags.
- Measure doorways, hallways, stairs, landings, and the final room; clear the route.
- Gather tools: wrenches, sockets, screwdrivers, staple remover, levels, shims, dollies, straps, blankets, painter’s tape, zip bags.
- Disassemble in order: pockets, rails, felt, slate, frame/legs. Wrap and protect each part.
- Load strategically: slate flat on padded surfaces, secure rails and frame to prevent rubbing or shifting.
- Reassemble: base first, then slate, level carefully, reinstall felt, rails, and pockets. Perform final play tests.
When to consider help
Some moves are straightforward; others are not. Consider outside help if any of the following applies:
- Narrow stairwells, tight turns, or multi-story moves with limited landings.
- Very heavy or single-piece slate requiring precise, coordinated lifts.
- Time constraints that make careful disassembly and labeling difficult.
- Plans to replace felt or make adjustments to rails and cushions during reassembly.
FAQ
Can I move a pool table without removing the slate?
Moving a fully assembled table often risks damage to the frame, legs, and slate seams, and increases the chance of wall or floor damage along the route. Disassembling into components—especially removing slate—reduces weight, improves control, and typically results in a safer move.
Should I reuse my existing felt or replace it during the move?
Reusing felt is possible if it is in good condition and removed carefully. If your felt is worn, pilled, torn, or you want a color or speed change, a move is a convenient time to replace it since the table is already apart.
How do I keep track of parts during disassembly?
Label everything with painter’s tape and a marker, photograph each step, and store hardware in separate labeled bags by component (e.g., “Head rail bolts,” “Center slate screws”). Place all smaller bags in a single bin to prevent loss.
What if my floor isn’t perfectly level in the new room?
Minor floor variations are common. Level the table by adjusting shims between the frame and slate in small increments, checking with a reliable level in multiple directions and retesting after each change.
Do I need special equipment to carry slate?
At minimum, use multiple helpers, lifting straps for control, and thick moving blankets. A sturdy dolly or hand truck helps with longer routes. Always lift slate vertically first and avoid dragging.
A practical next step
To discuss the options that apply to your situation, contact EC Movers Ltd and request the relevant details before moving forward.
Ready to move?
Get your free quote from EC Movers today.